Installing OpenShift Data Science (ODS) in Self-Managed Environment
Late last year, Red Hat Openshift Data Science (ODS) became generally available (GA). At that time, this service was only available on cloud environments such as AWS and Google (GCP).
Earlier this year, ODS became available in self-managed environments to install as an operator.
ODS allows data scientists to analyze data and provides a cloud-based instance of Jupyter Notebook. OpenVINO (model-serving runtime) and Openshift Pipelines are supported as well. This is just a small snippet of what ODS can do. Here is some more detail from Red Hat's official site.

In this short article, I will detail the steps to install and use ODS in a self-managed environment.
The documentation I will follow is located at:

A. Adding HTPASSWD Identity Provider
B. Deploy Registry (if not already completed)
C. Requirements for Installing
D. Installing ODS Operator
E. Accessing ODS Dashboard
F. Adding ods-user to Project
G. Small Example of Using Jupyter Notebook
Requirements for Installing
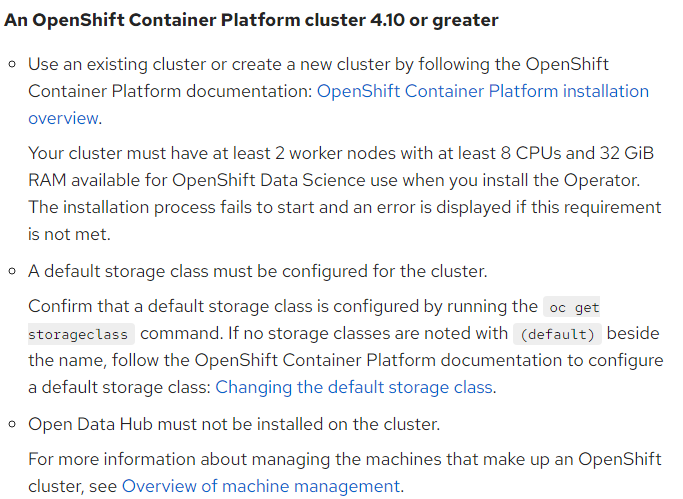
Another identity provider (such as htpasswd) is required for ODS users to be configured
My GitHub repo for this blog is at https://github.com/kcalliga/ods-blog
Adding HTPASSWD Identity Provider
This step is only necessary if another identity provider is not enabled
I will create an htpasswd file with a user named ods-user with a password of "password"
- On a linux terminal, install httpd-tools package if not already installed.
- Run the following command. This will create file called ods.htpasswd with the ods-user and prompt for the password (password is what I used).
htpasswd -c ods.htpasswd ods-user3. Save the ods.htpasswd file to your desktop. A copy of this file is on my Github repo.
4. On the OpenShift web-console, go to Administration --> Cluster Settings --> Configuration --> Oauth
Click on "Add Identity Provider" and choose HTPasswd
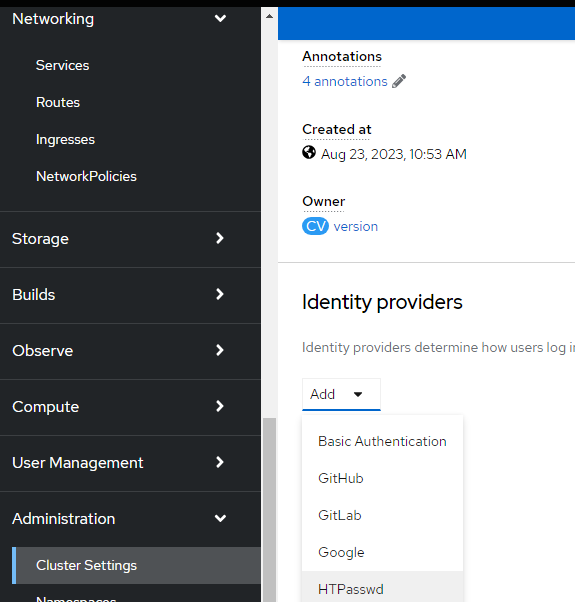
5. You can either upload the htpasswd file or copy/paste the contents of this file. I copied/pasted in this example
6. Click "Add"
7. A message saying that a new identity provider is being provided will appear. You may need to wait a few minutes after this.

8. To verify completion, you can watch the events or simply logout and login to the OpenShift web console.
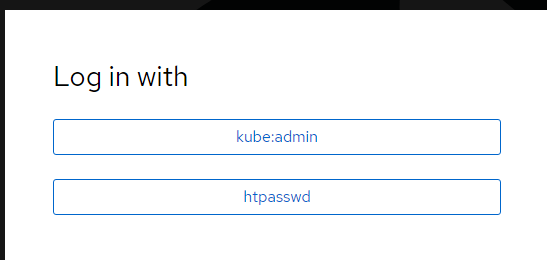
9. Login using the htpasswd identity provider as the ods-user with password as "password". This will create an identity for this user.
10. You can logout as ods-user at this point and back in as kubeadmin.
Deploy Registry
This step is necessary for notebook images to pull successfully. In this example, I will enable the registry to use the default store class for persistence. These commands will be run using the "OC" cli.
- Change the registry to managed
oc patch configs.imageregistry.operator.openshift.io cluster --type merge --patch '{"spec":{"managementState":"Managed"}}'2. I am not using persistent storage in this example but in a production environment, you would want to do that
oc patch configs.imageregistry.operator.openshift.io cluster --type merge --patch '{"spec":{"storage":{"emptyDir":{}}}}'See the steps below for using persistent storage with the registry

Installing ODS Operator
- Login to OpenShift Web Console
- Go to Opererators --> OperatorHub
- Search for "Openshift Data Science"
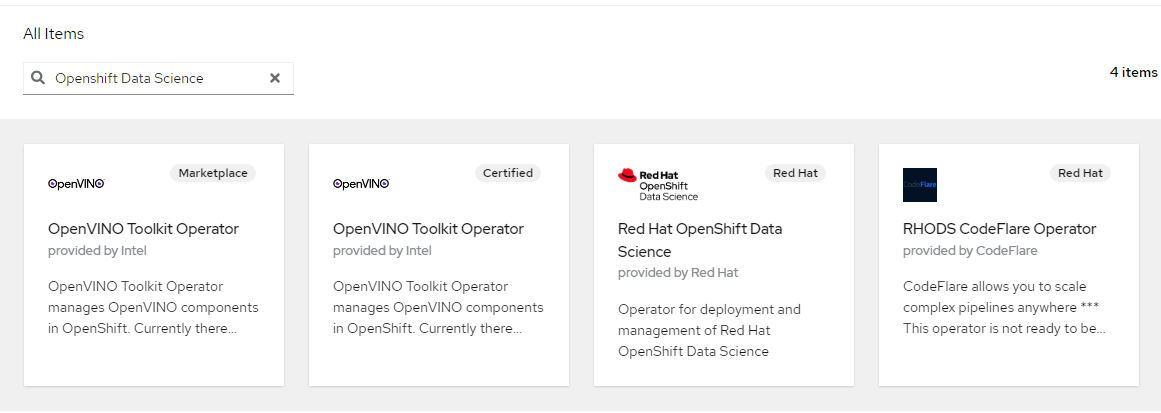
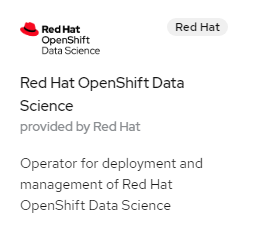
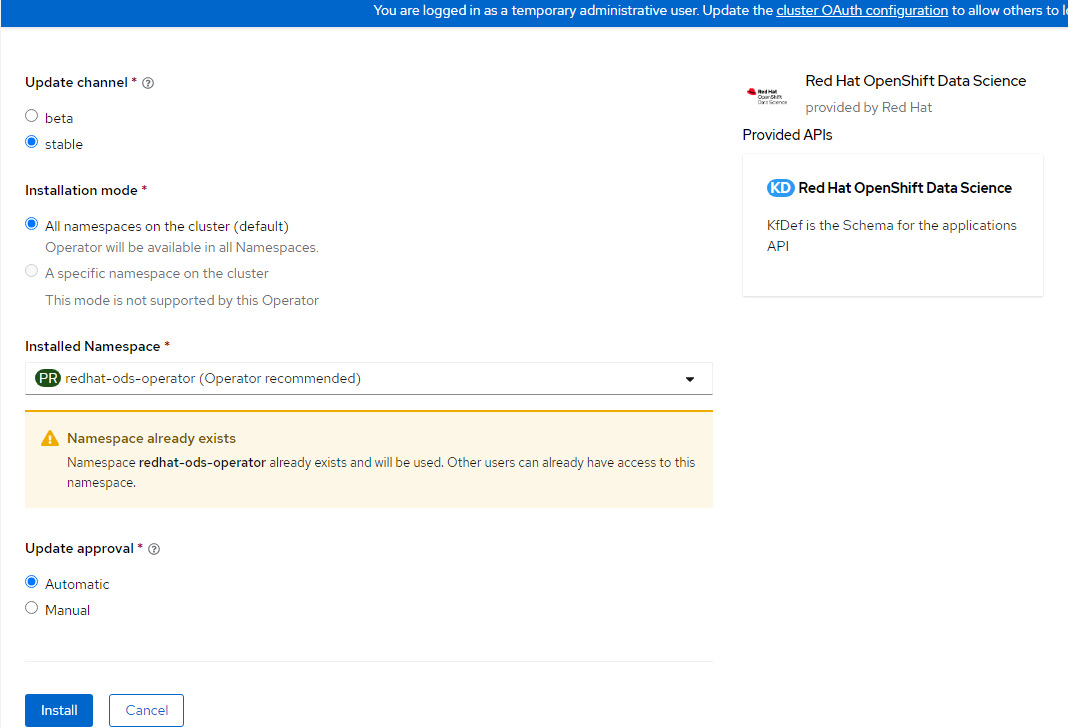
4. Click on "Red Hat OpenShift Data Science"
5. Click on "Install"
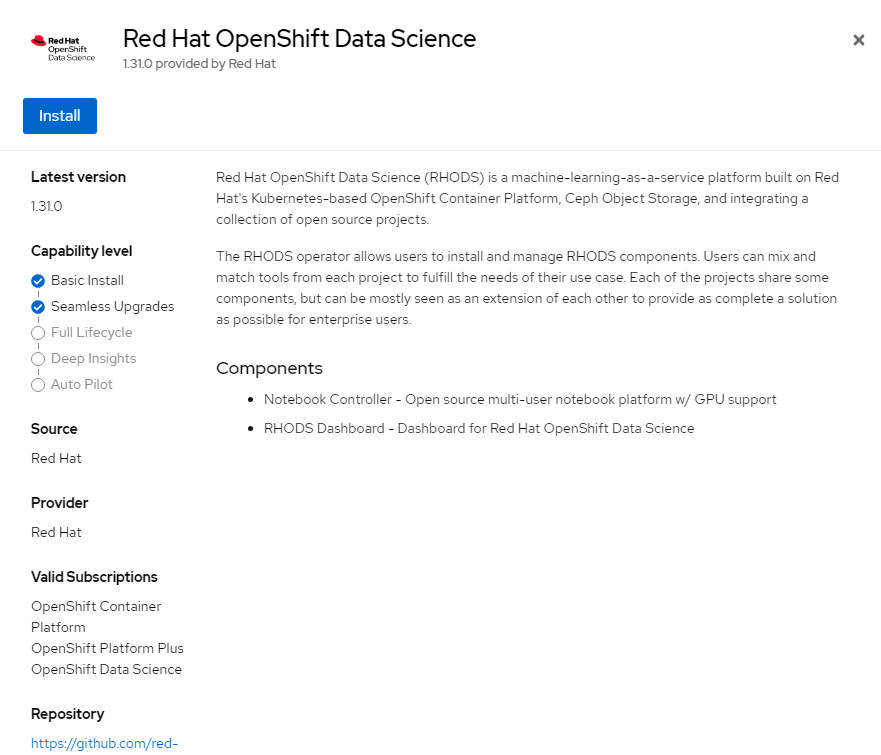
6. Accept default settings and click "Install" again. Disregard message about namespace already existing. This is because I uninstalled and reinstalled for this blog post.
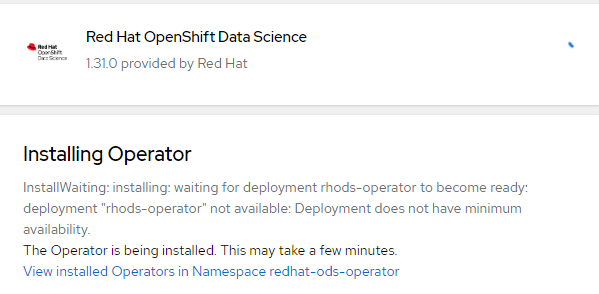
7. You will see a message showing the operator being installed and to wait a few minutes for completion.
8. It will show "Ready for Use" once the install is complete. Click "View Operator"
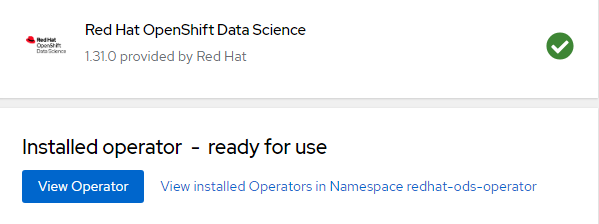
9. Nothing else is needed at this point
Accessing ODS Dashboard
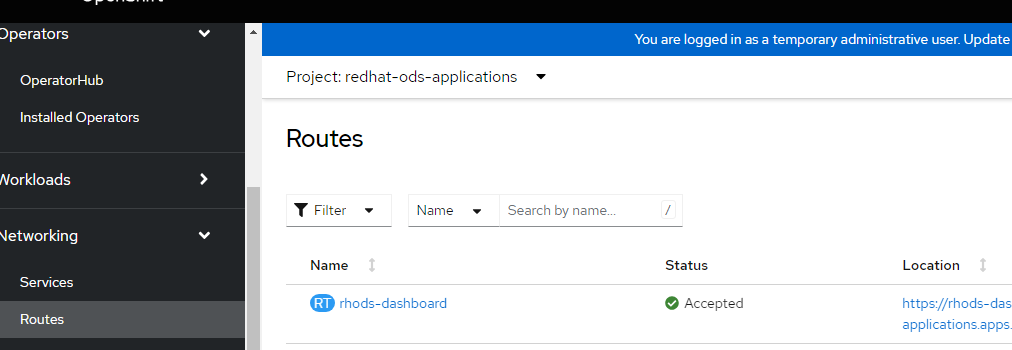
- By default, a route called https://rhods-dashboard-redhat-ods-applications.apps.<clustername>.<basedomain> will be created.
- To find this route and to go to it, go to Networking --> Routes --> redhat-ods-application (project). My URL is redacted but this gives you an idea.
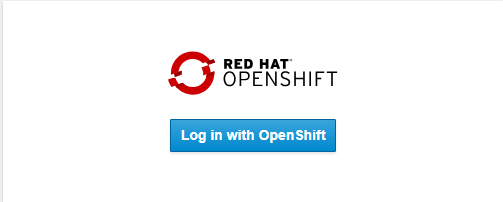
3. When going to this link, you will be able to login using your OpenShift credentials.
4. You will now be taken to the ODS Dashboard
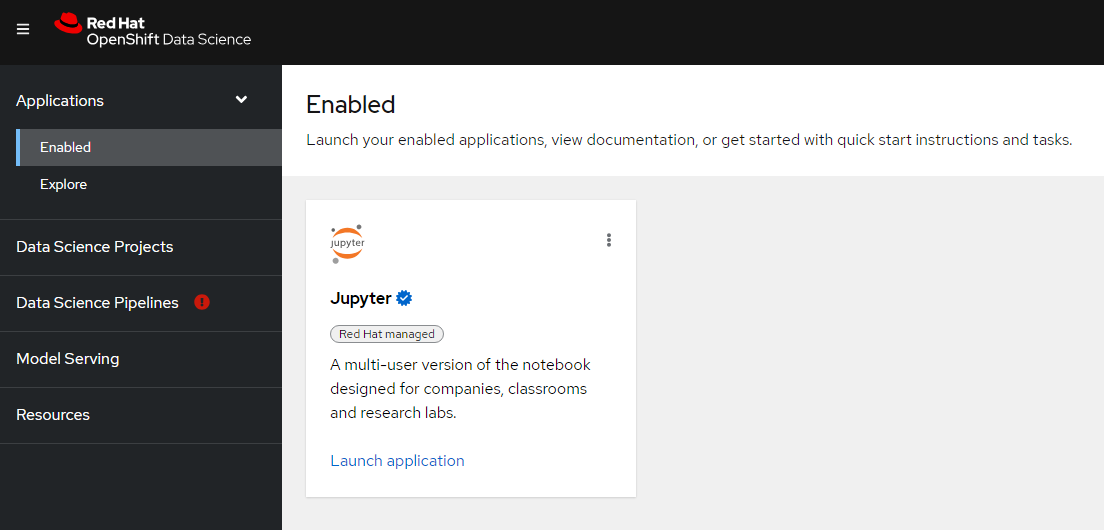
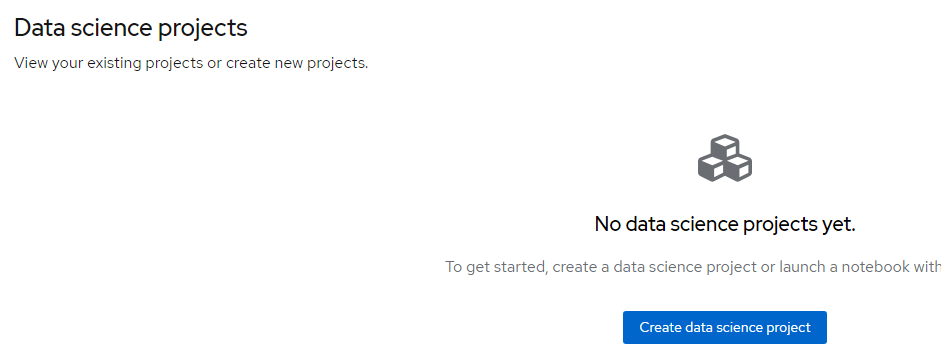
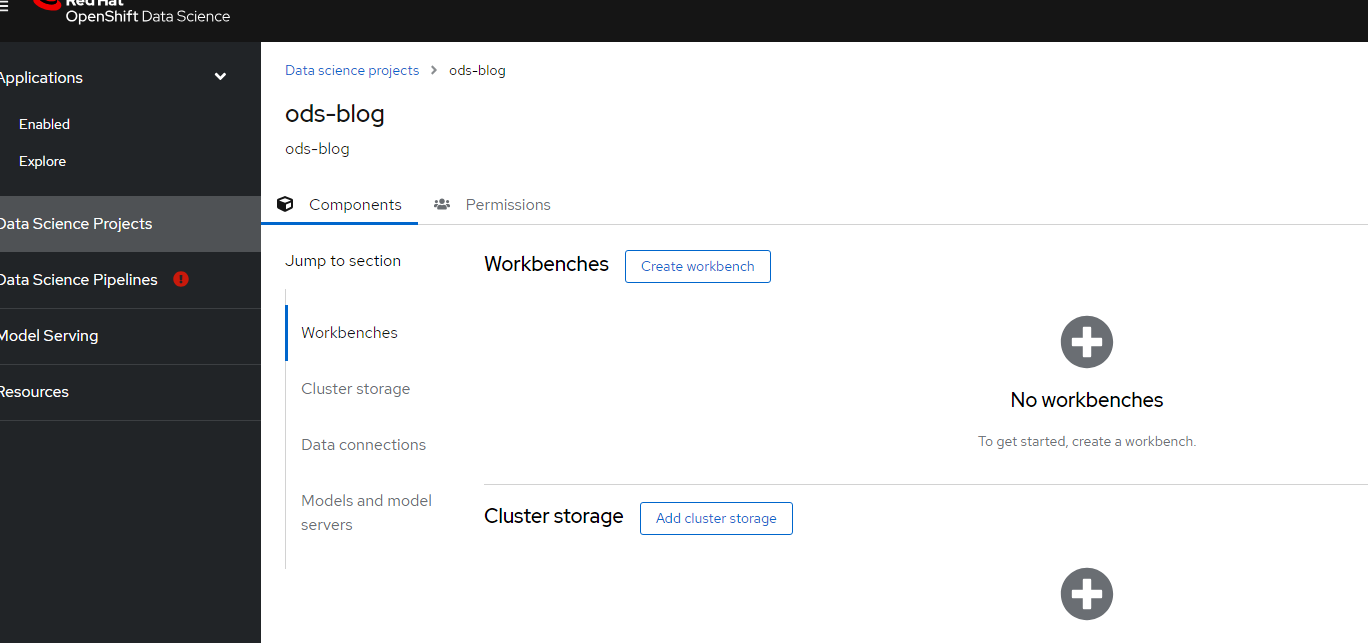
5. Click on "Data Science Projects" on left-side of screen.
6. Click "Create Data Science Project"
7. Let's call this "ods-blog"
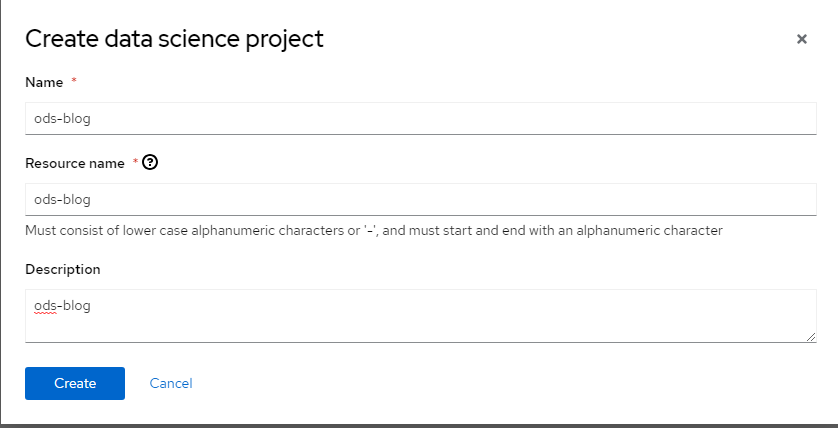
8. Click "Create"
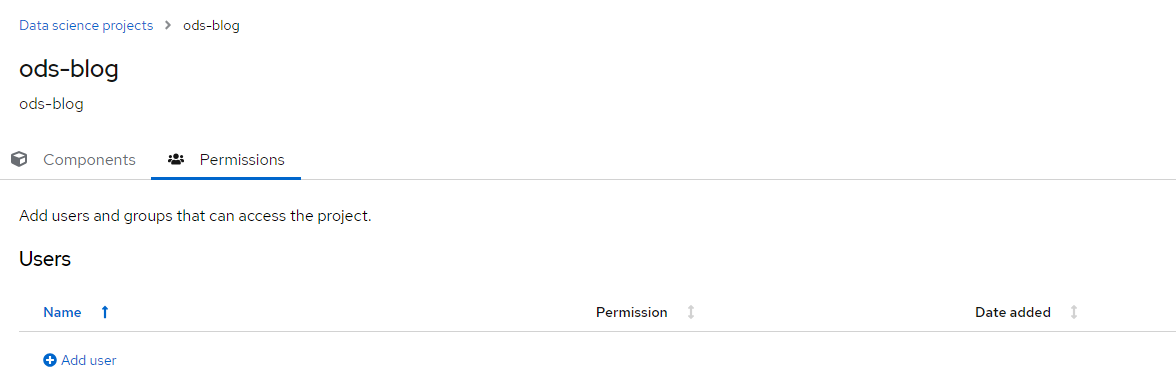
Adding ODS-User to Project
1. On the resulting screen, click "Permissions"
2. Click "Add User"
3. Add the ods-user with "edit" privileges for now
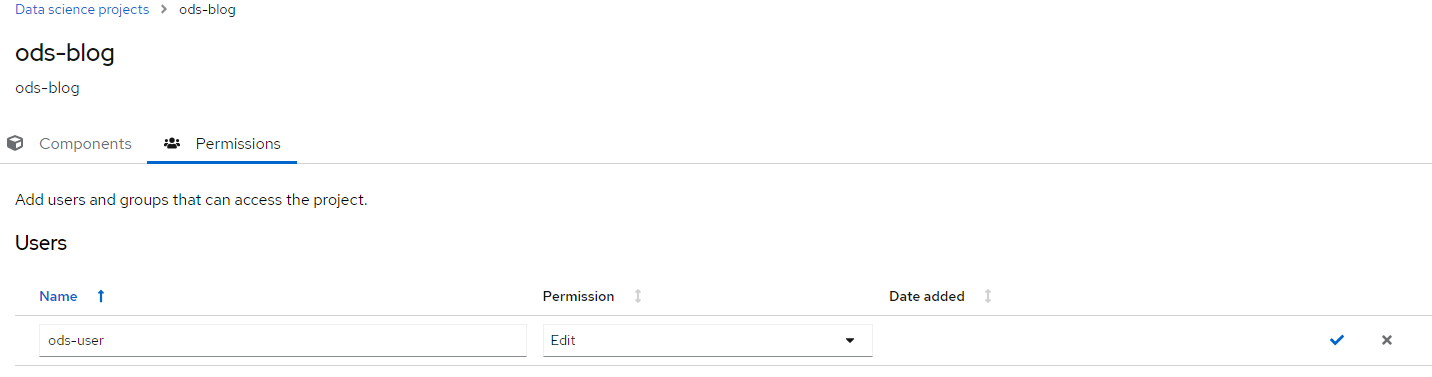
4. Click the checkbox on the right-side to complete this action.
5. Logout as kubeadmin and log back in to ODS dashboard as ods-user.
Creating Workbench
Now that the ods-user is linked to the ods-blog project with ODF-edit access, let's create a workbench.
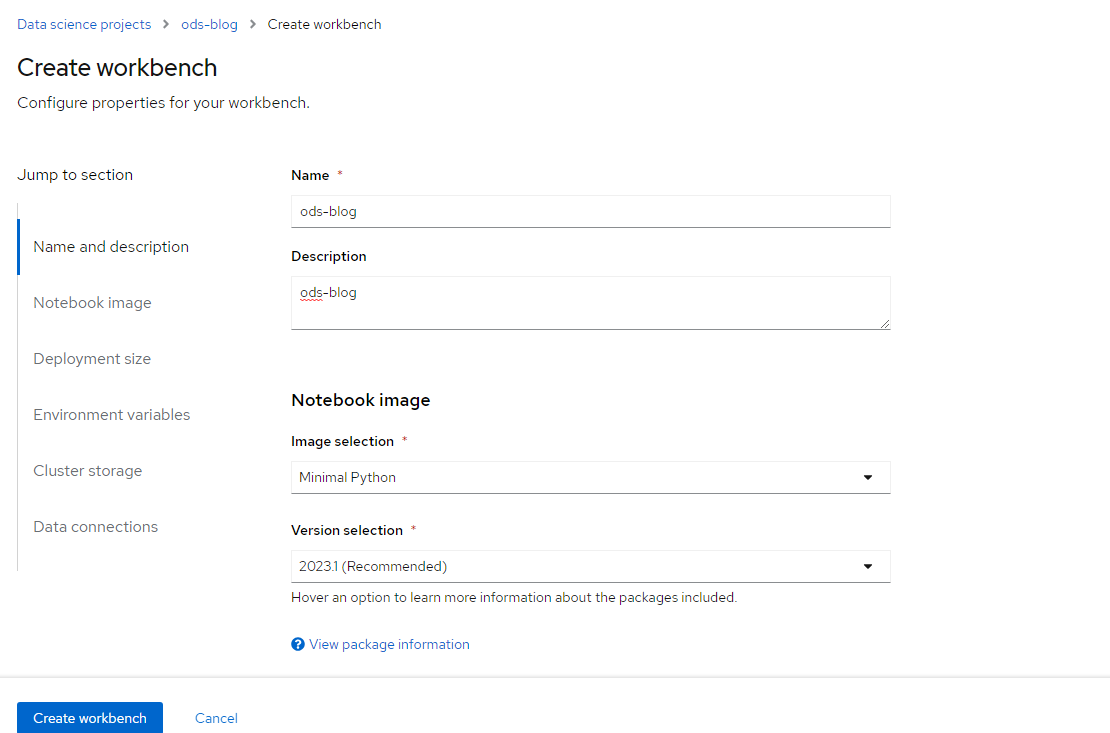
- Click "Create Workbench"
2. On the resulting screen, fill in the following values.:
Name: ods-blog
Description: ods-blog
Notebook Image --> Image Selection : Minimal Python
Version 2023.1 (at time of writing)
Container Size: Small
Click "Create Workbench"
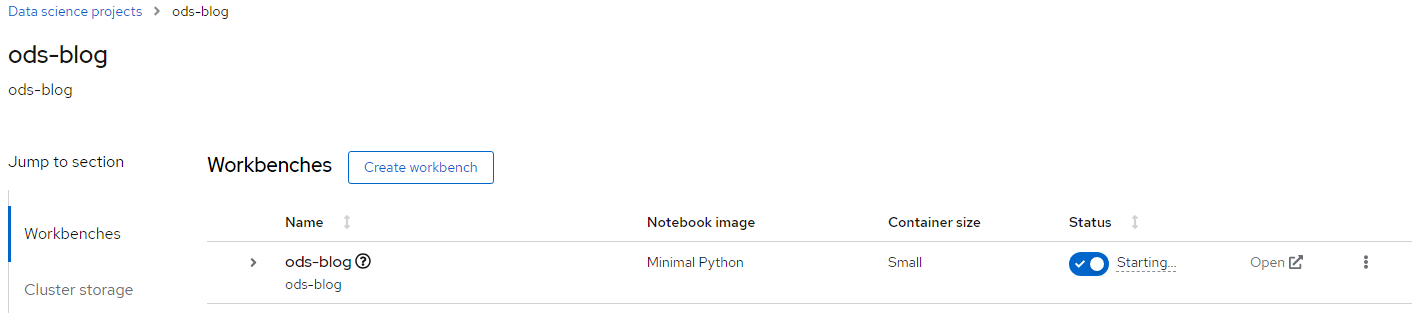
3. The status will change from "starting" to "running"
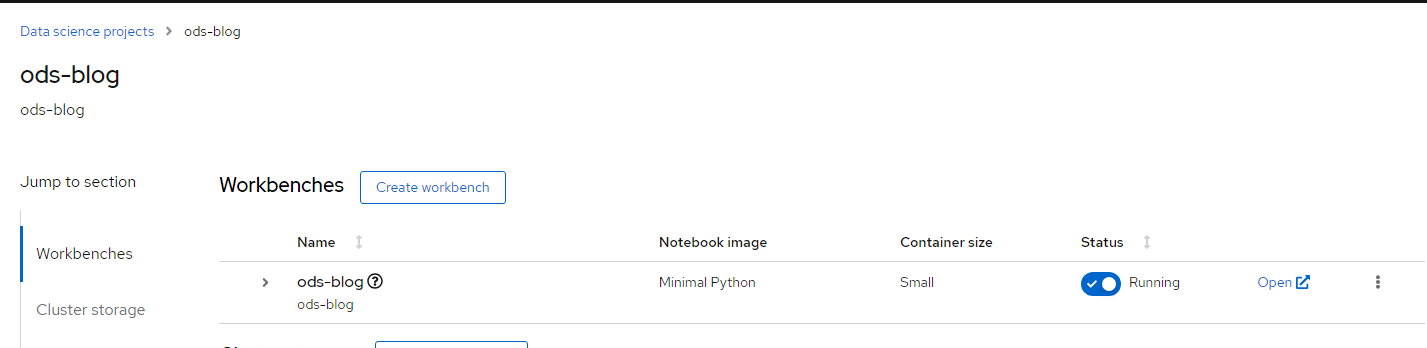
3. Click on "Open" to get started.
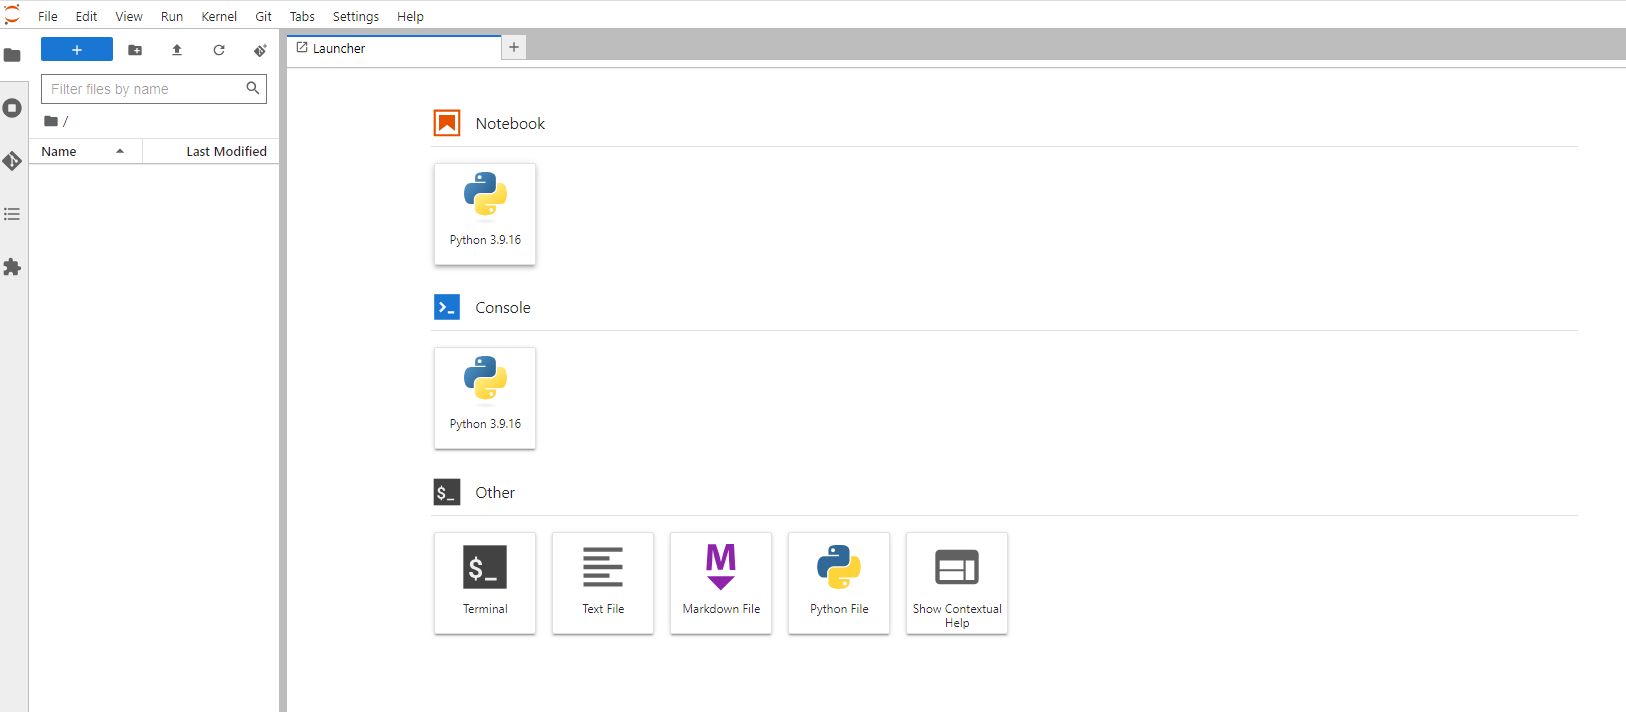
You now have a small Openshift Data Science instance.
I hope you enjoyed this article. There will be more to come soon.