
Single Node Openshift (SNO) Observability
With the latest versions of Openshift, there are many new features associated with observability. This article is only related to the local observability components (not to be confused with ACM observability).
The official Red Hat documentation refers to the following observability topics/components:
Any one of these components on its own uses a lot of cpu, memory, and storage resources based on the default settings and the assumption that this would be a production environment. This article came from the need to be able to demo many of these components with limited hardware. Again, this would not be the way you deploy in a production environment but serves the purpose to try out many of these components in a SNO (Single Node Openshift) cluster for demo purposes using a smaller footprint of CPU/memory/storage resources.
Here is how this article will be structured:
A. My Setup including hardware and OCP version
B. Installing the LVM Operator for Storage
C. Installing Openshift Data Foundation (Operator) for S3 Storage
D. Installing Loki Operator
E. Installing Cluster Observability Operator
F. Installing Openshift Logging Operator
G. Installing Network Observability Operator
This may look like a lot but let me assure you that it's very minimal steps and I will provide sample YAML/manifests to accomplish this setup.
A. My Setup Including Hardware and OCP Version
My home lab consists of lots of libvirt/KVM based virtual machines that are running on a RHEL 9 hypervisor. In my case, I am using following VM specs:
14 VCPU
56 GB of RAM
120GB Partition for CoreOS/OCP OS
500 GB Separate Drive
Openshift 4.18.12 SNO-Based
For the additional 500GB drive, this will be used at install time. You will want to make it available as additional block device. In my case this is /dev/sdb.
B. Installing the LVM Operator for Storage
- Go to Operators --> OperatorHub and search for "LVM"
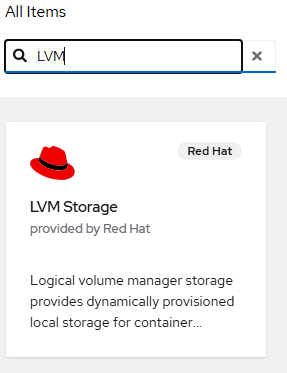
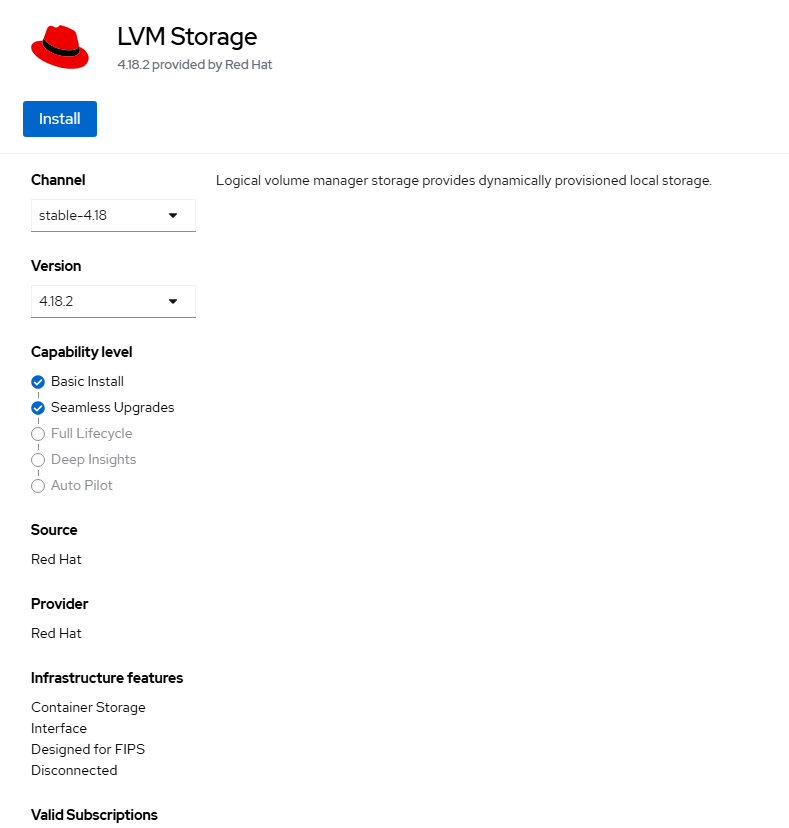
Click on this tile, click "Install" on the resulting page.
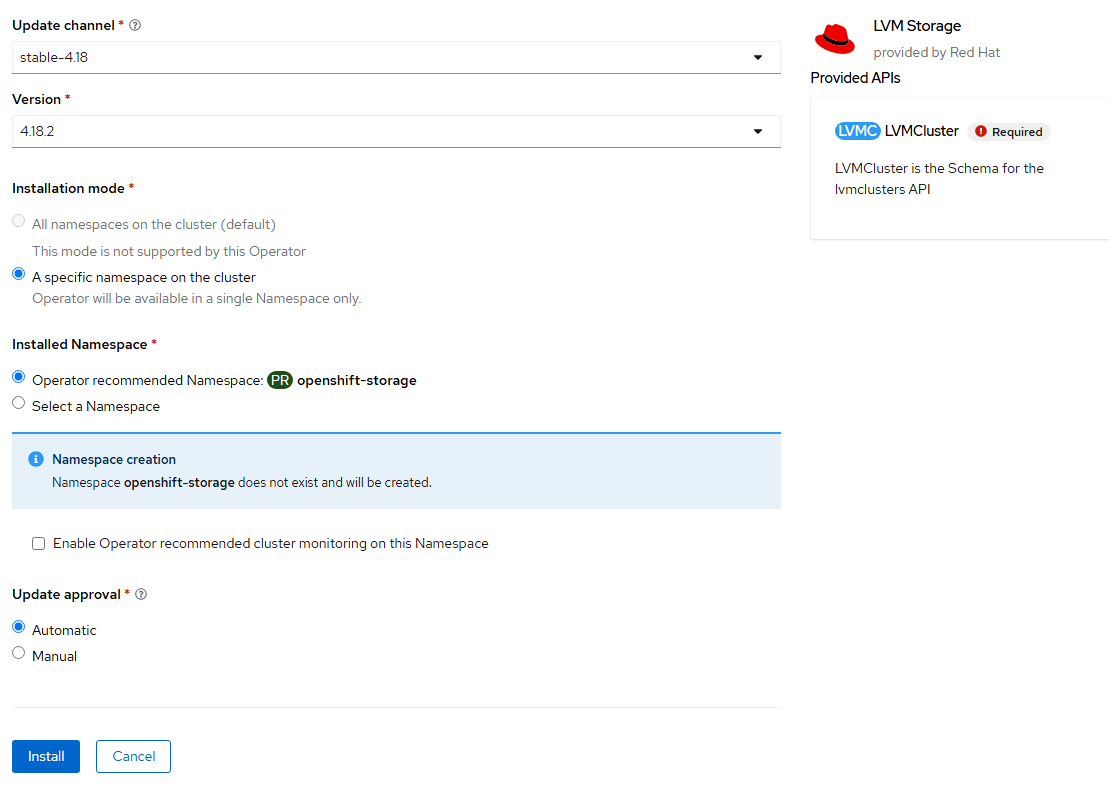
- Click "Install" again on the final confirmation page.
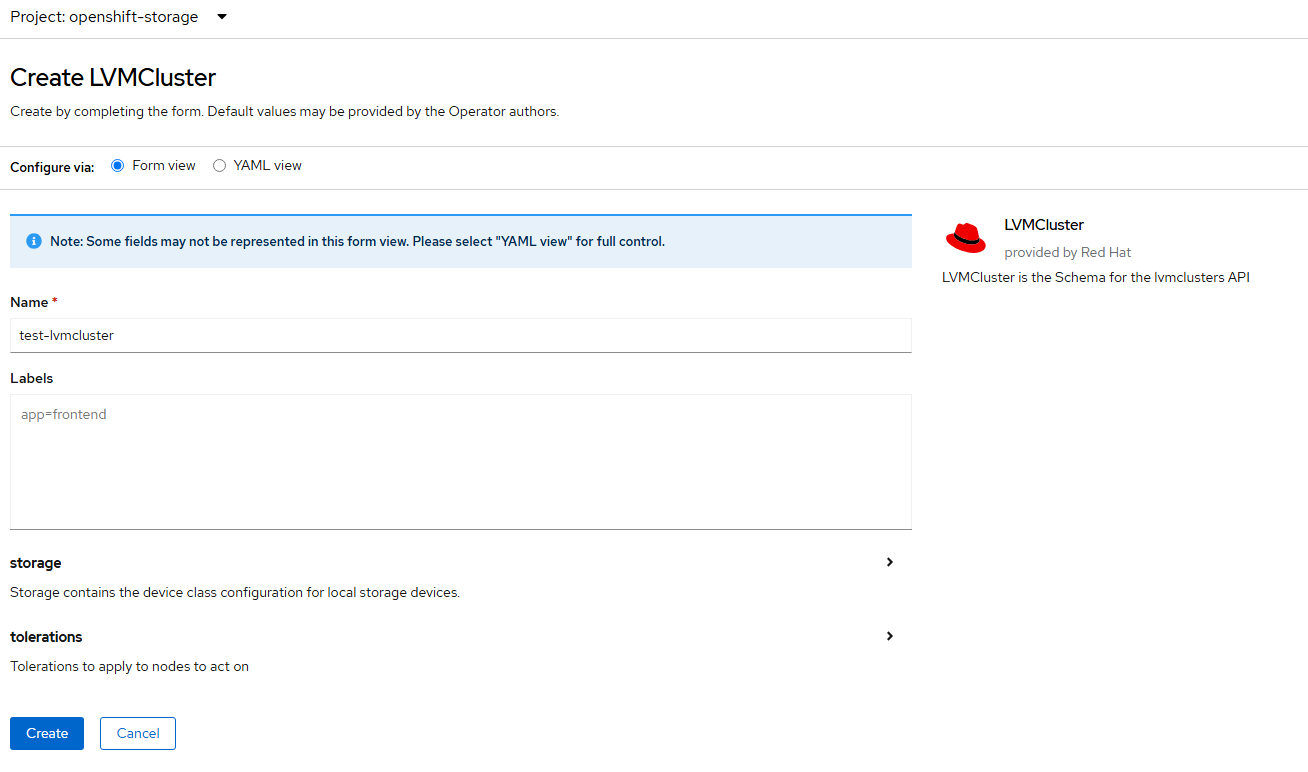
- Once the operator is installed, click on "Create LVMCluster"
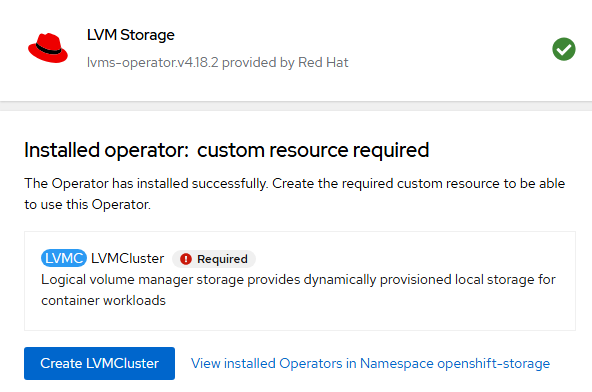
- On this page, also accept the defaults and click "Create".
- After install, the status should show "Ready".
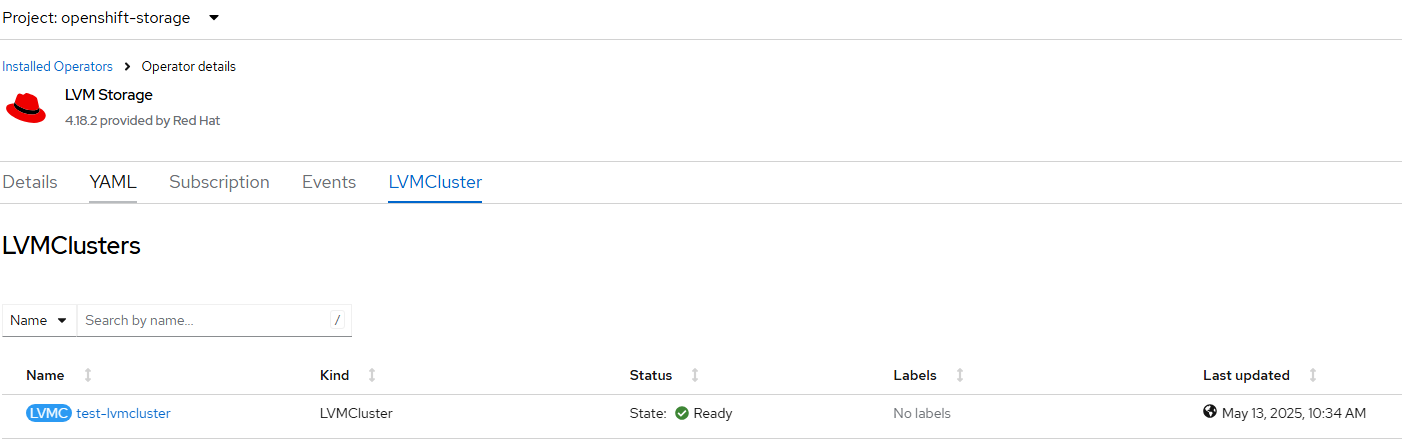
- I want to check a few things to ensure that the additional block device was added correctly.
Click on the test-lvm cluster resource.
View the YAML definition.
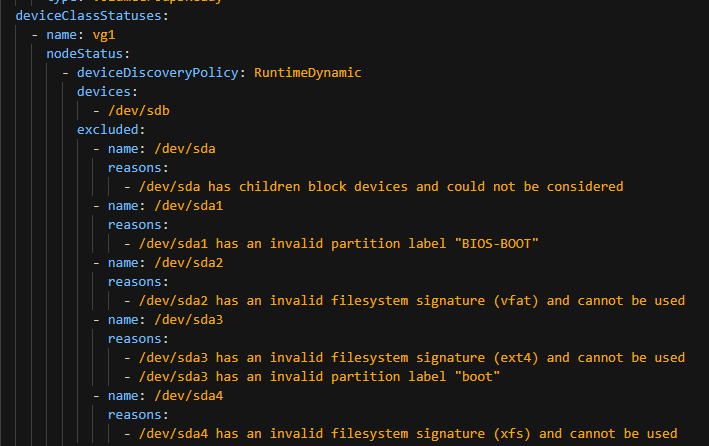
In the screenshot below, /dev/sdb is showing as added. Notice that everything on /dev/sda is excluded due to RHCOS/node operating system already being installed here.
oc debug node/<nodename>
chroot /host

pvdisplay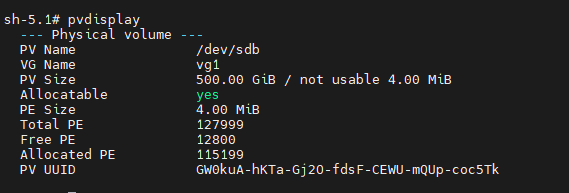
See that /dev/sdb was added to LVM and shows up as a physical volume.
We are good to go from an LVM perspective.
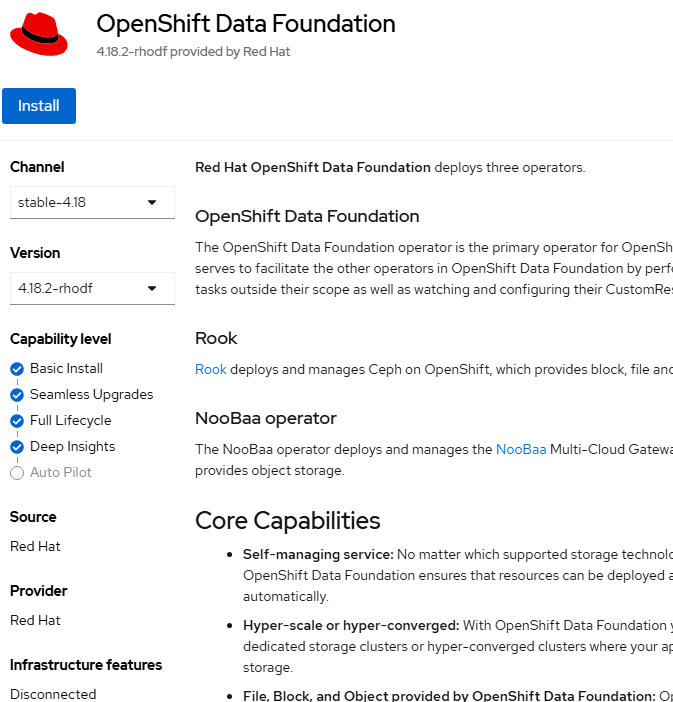
B. Install Openshift Data Foundation for S3 Storage
Now that LVM is setup, an ODF instance with S3/NooBaa/MultiCloud Object Gateway will be deployed.
- Go to OperatorHub --> Operators and search for ODF. Ensure you click on the one that says "Openshift Data Foundation" as shown below and not the client or multi-cluster orchestrator one.
Click on the tile.
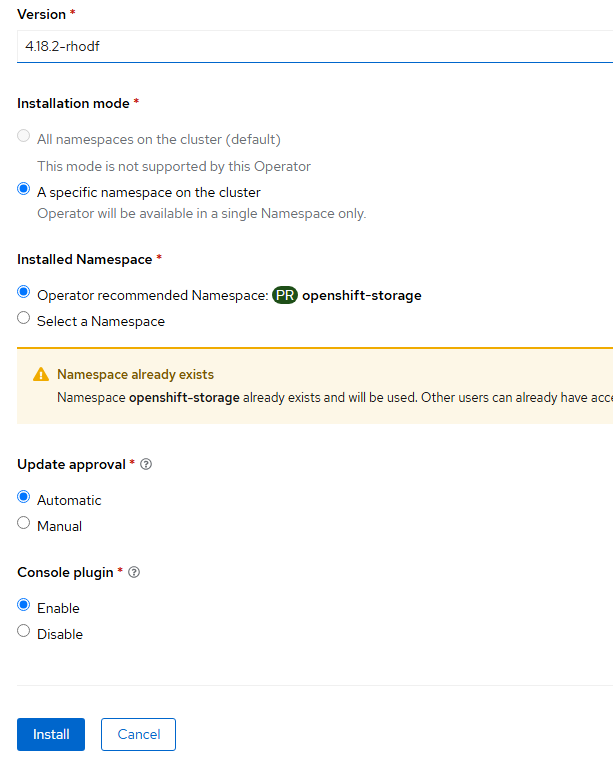
- Click "Install" on the next page. Accept all default settings.
- Click "Install" again on the final page. Accept all default settings.
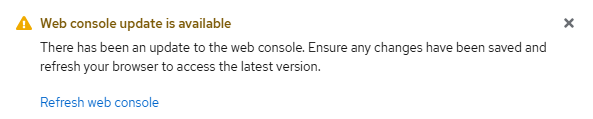
- After the operator installs, the web console will need to be refreshed as shown here:
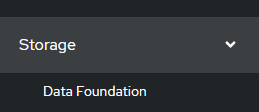
Some new menus will be added on the left-hand side.
Under Storage, there will be an "Openshift Data Foundation" item.
- Once the ODF operator is installed, click "Create Storage System".
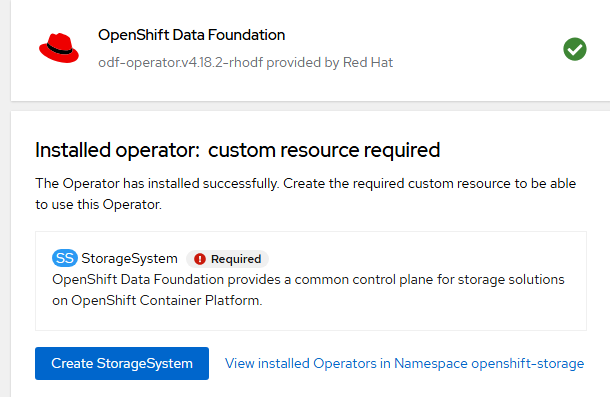
Alternatively, you can do this from the Storage --> Openshift Data Foundation --> Storage Systems menu.

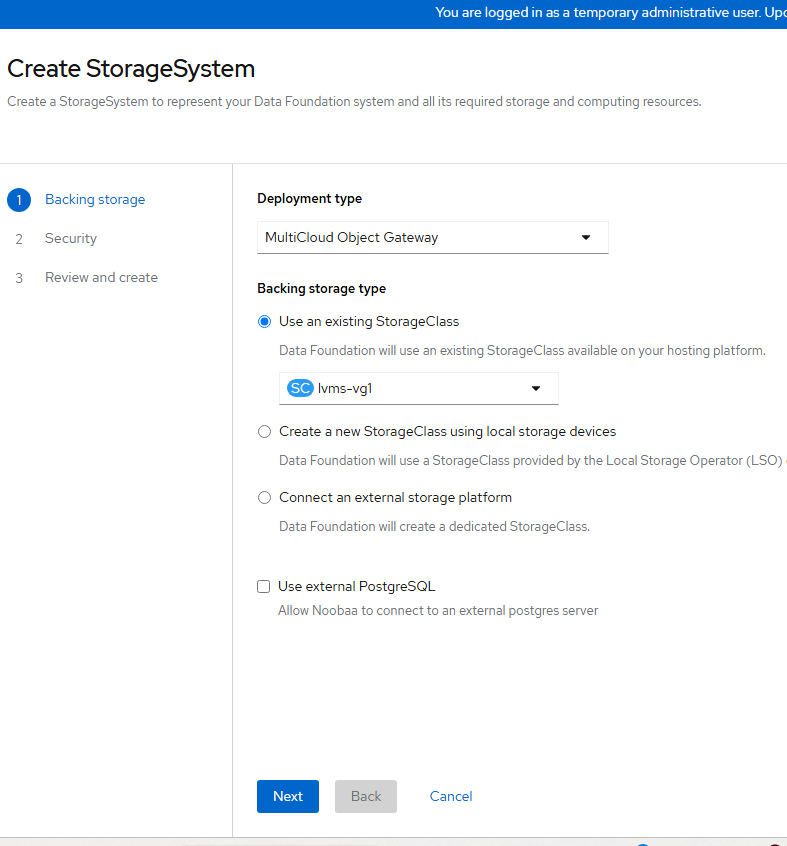
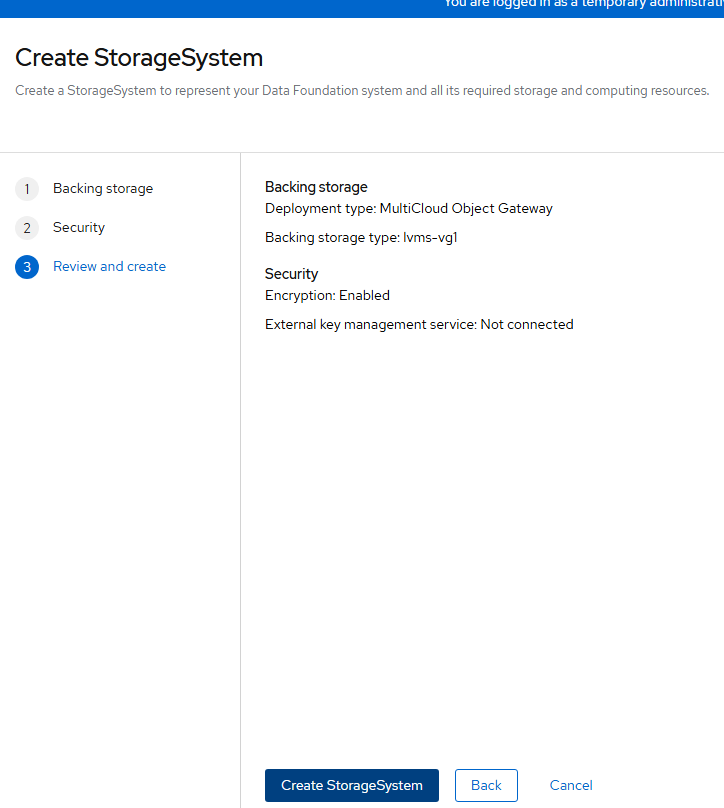
- On the resulting screen, change the "Deployment Type" to MultiCloud Object Gateway and use the "lvms-vg1" storage class and click "Next".
- Encryption will not be used. Click "Next" again.

- On the final screen, click "Create StorageSystem".
- At this point, you can sit back and relax or have a coffee or beer 😄as this will take some time (about 5-10 minutes).
Otherwise, you can watch what happens during this install.
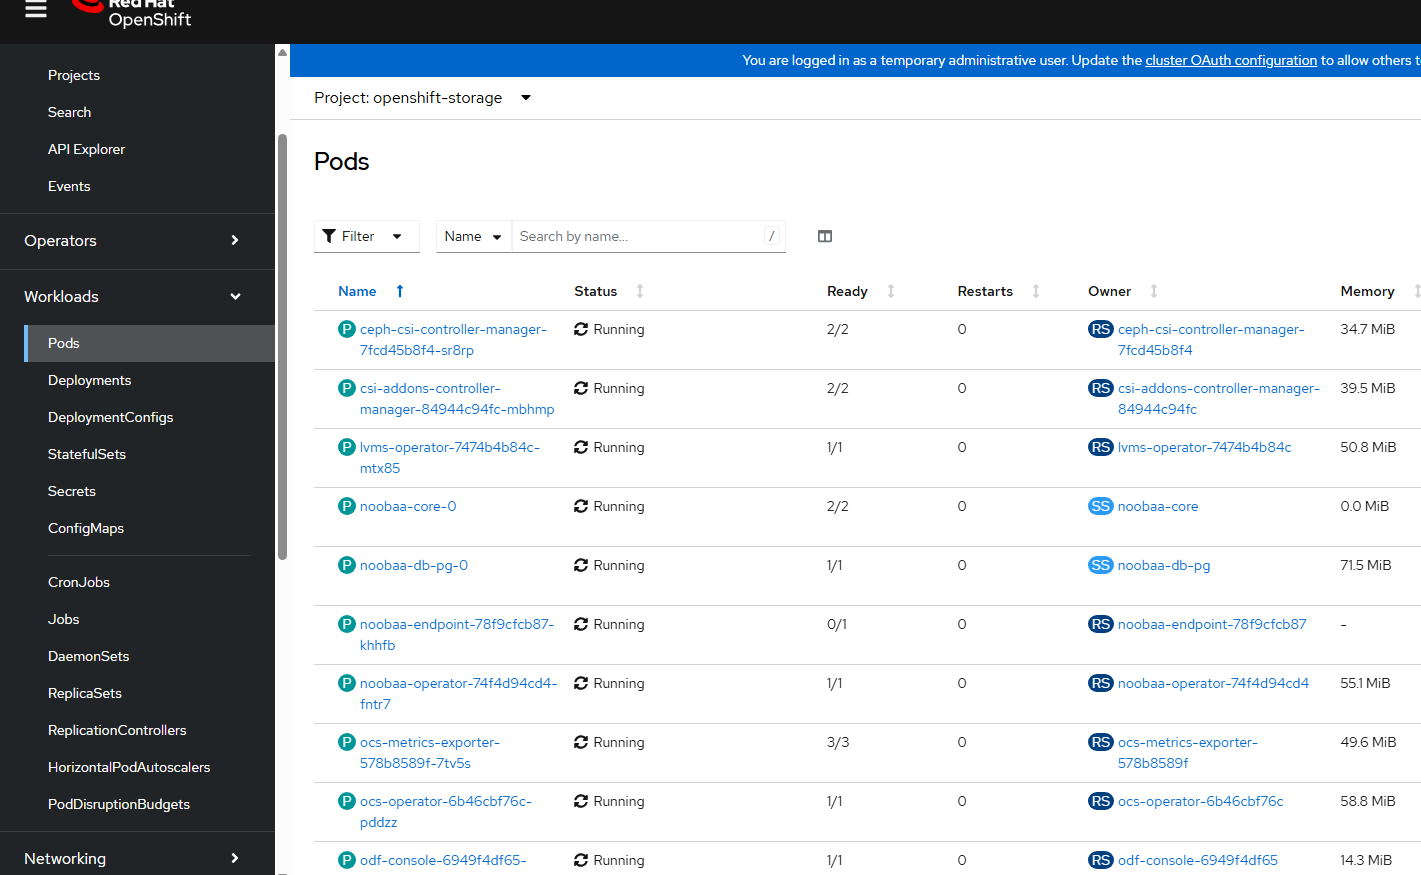
If you want to do this, go to Workloads -->Pods --> and select the "openshift-storage" namespace/project to see new pods get created.
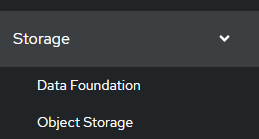
- A little bit into the install, a new menu item will appear. You may need to hit refresh on your browser to see this. The menu is called "Object Storage" and is listed under Storage on the left-hand side right under "Data Foundation".
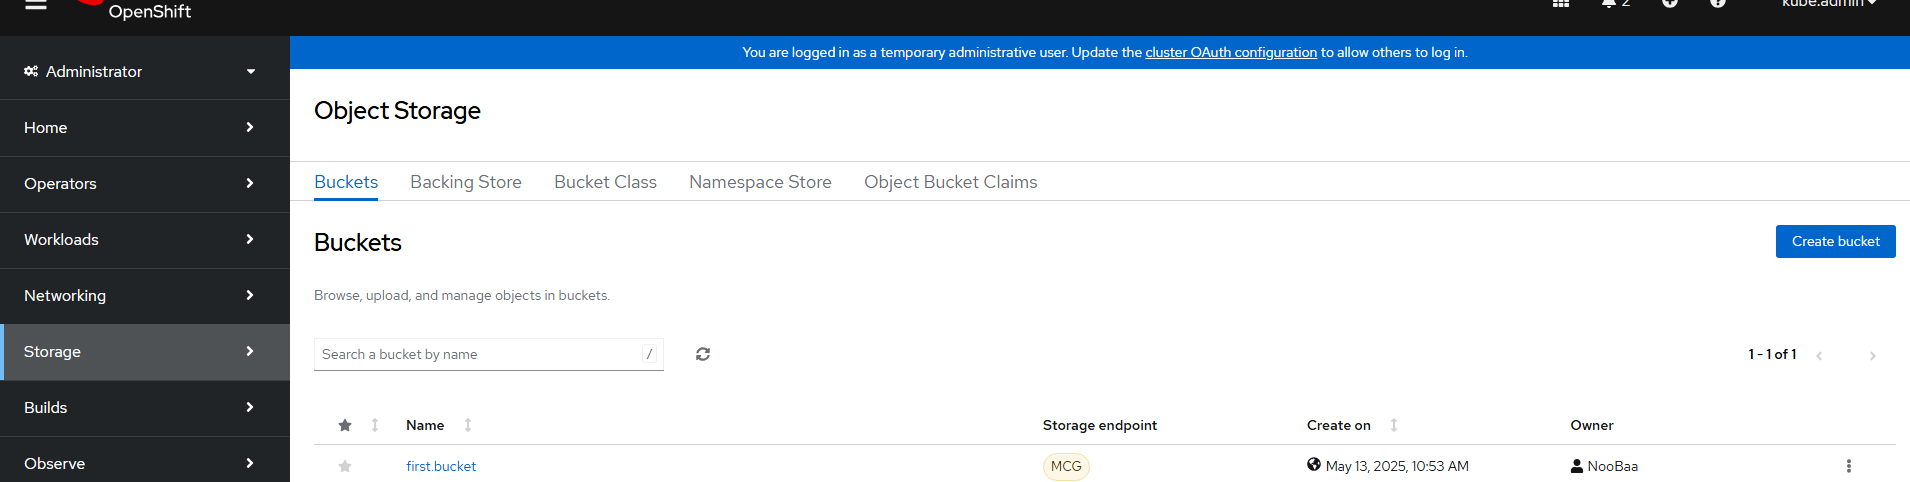
- This will take some time to populate but eventually there will be a bunch of options available on this "Object Storage" menu such as buckets, backing store, bucket class, namespace store, and object bucket claims.
This is needed for Loki which is a component needed for logging and network observability operators that will be installed next.
D. Installing Loki Operator
1. Go to Operators --> OperatorHub and search for "Loki"
Click on the tile that say "Loki Operator" and provided by Red Hat.
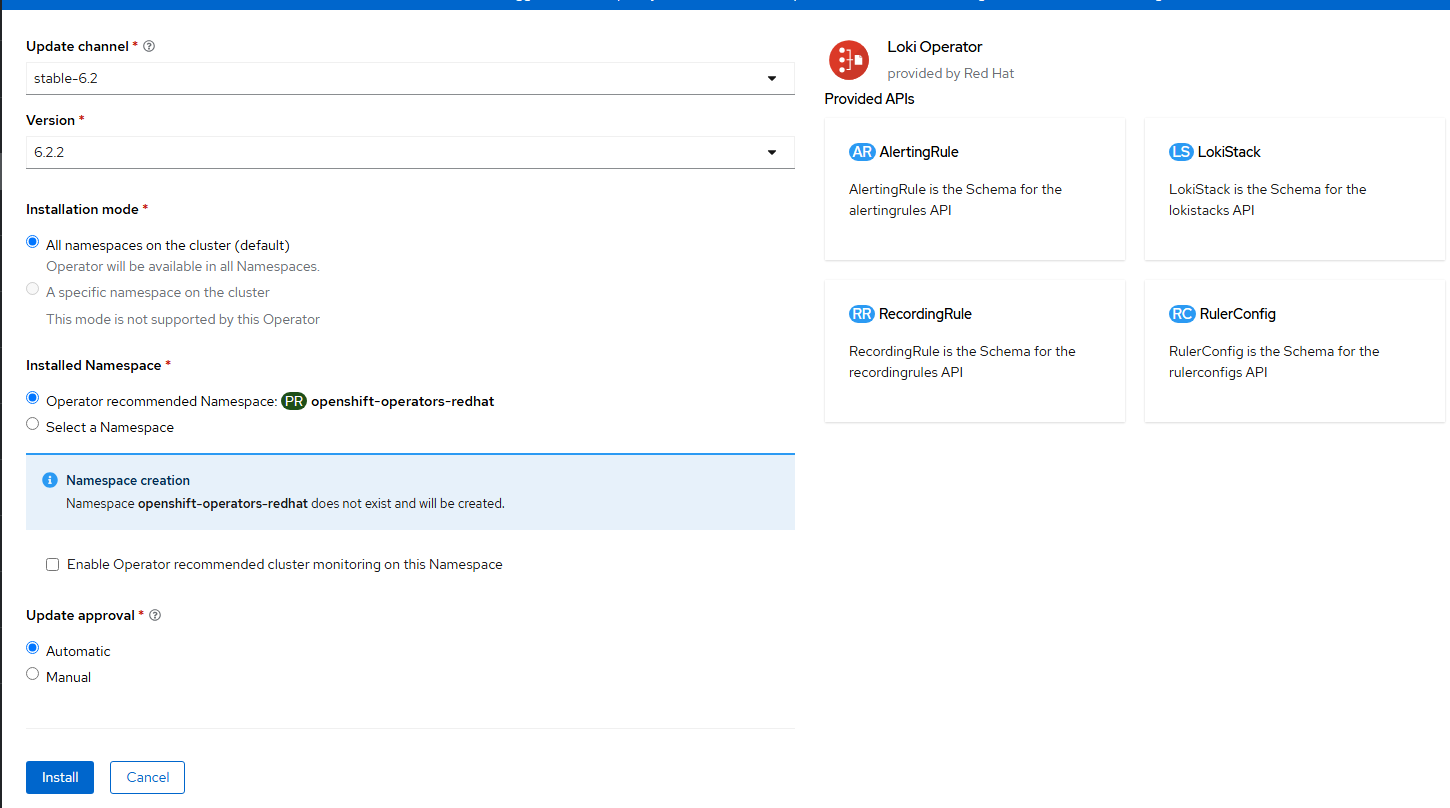
- Click "Install" on the next screen. Accept the defaults. This will be version 6.2.
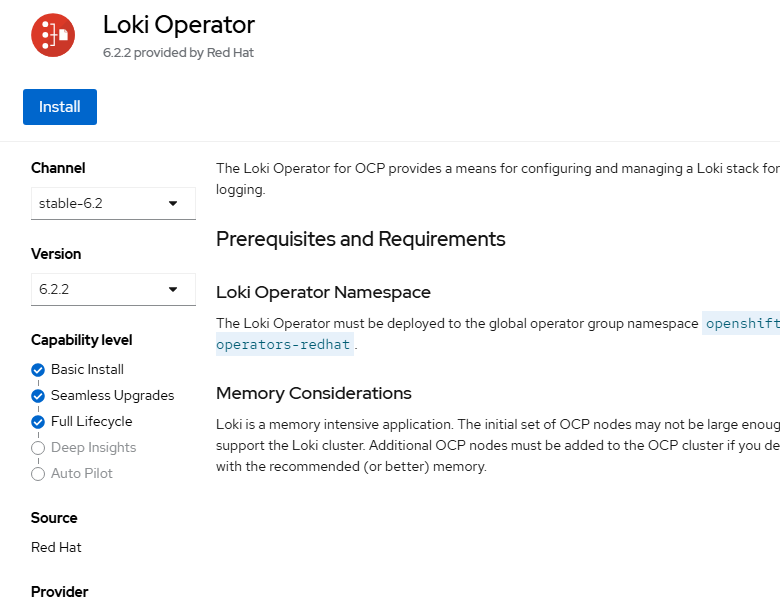
- On the final screen, click "Install". Accept the defaults.
- After it installs, click on "View Operator".
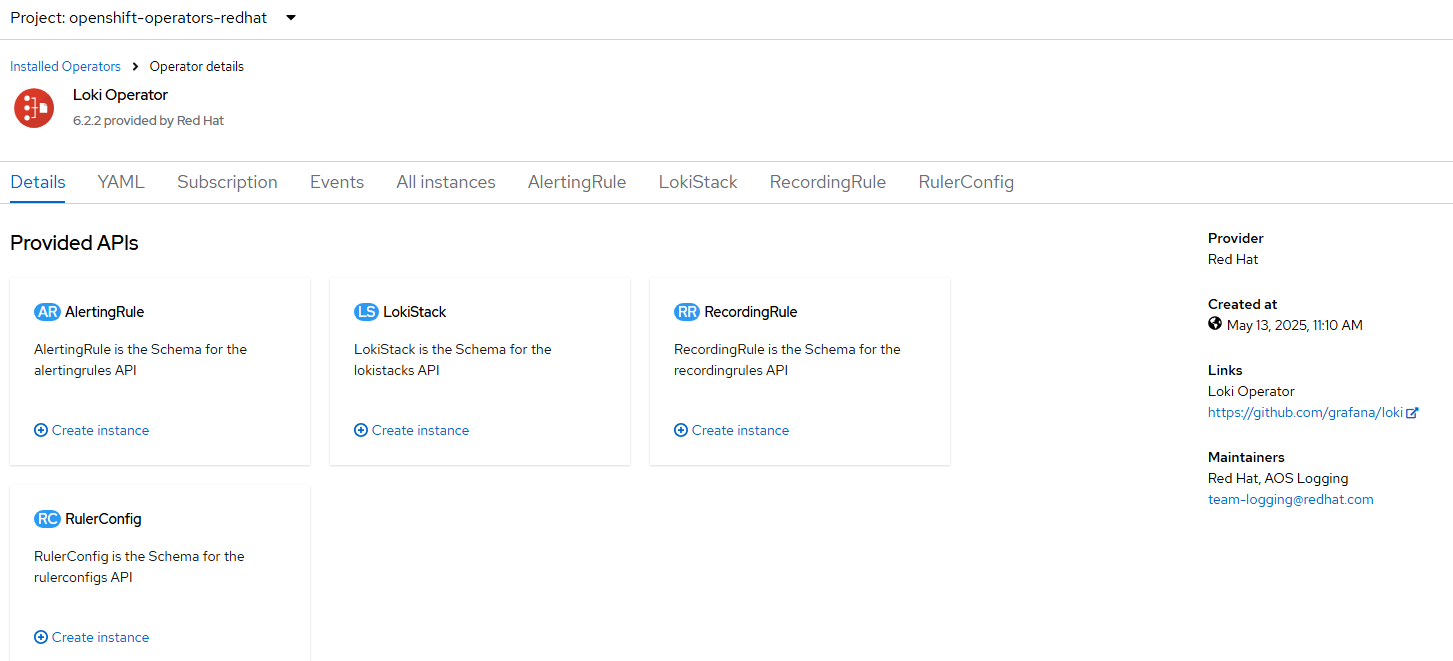
- The Lokistack instances for logging and network-observability will be created later so no need to create this yet.
E. Installing Cluster Observability Operator
- Click on Operators --> OperatorsHub and search for "cluster observability operator".
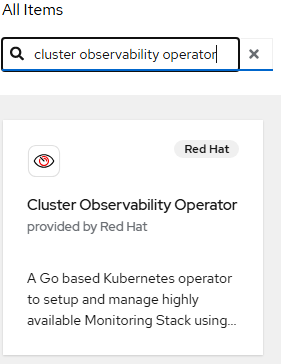
Click on this tile.
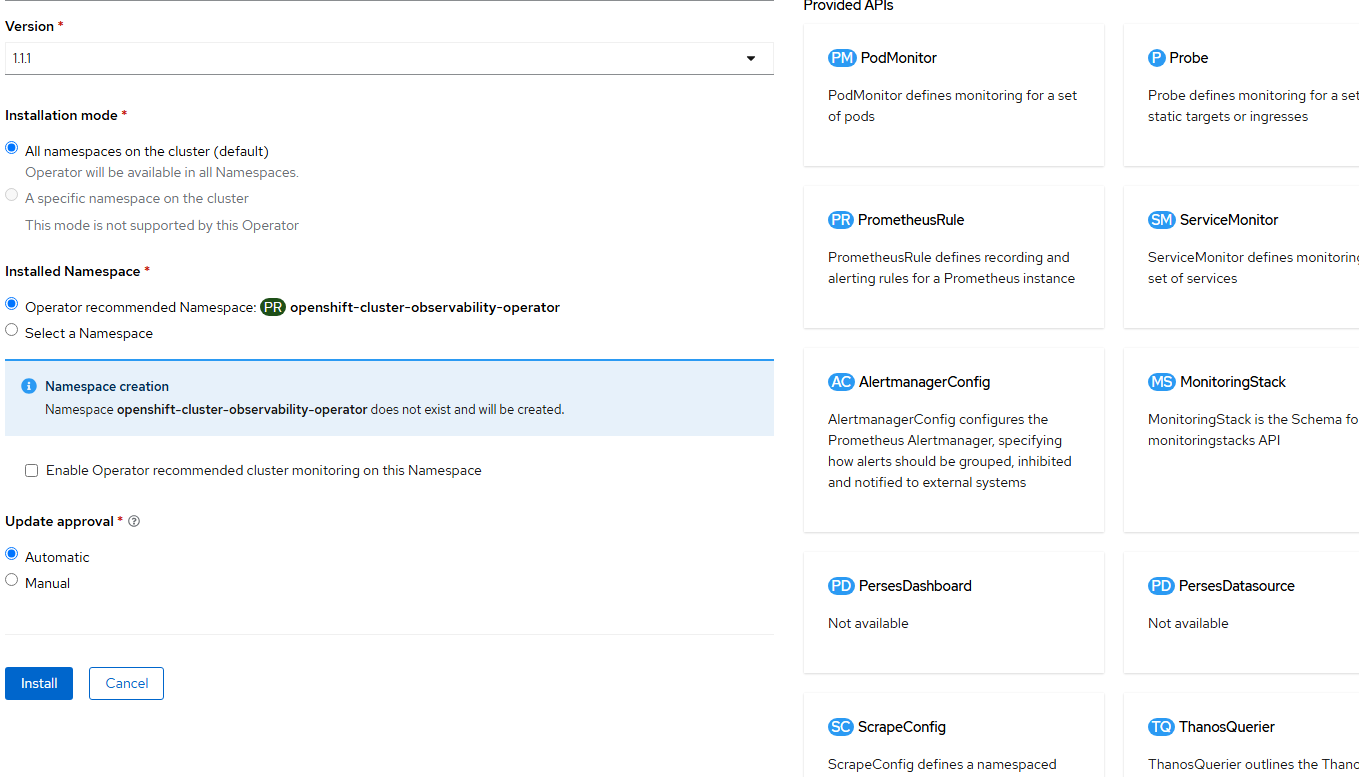
- Click "Install" on the next screen. Accept the defaults.
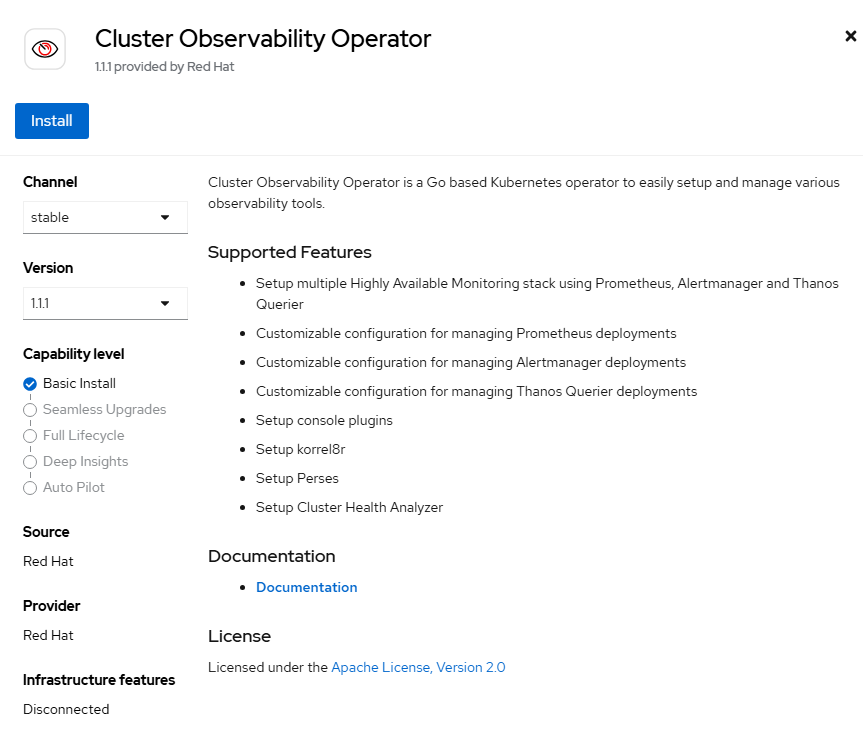
- Click "Install" on the final screen. Accept the defaults.
- Click on "View Operator"
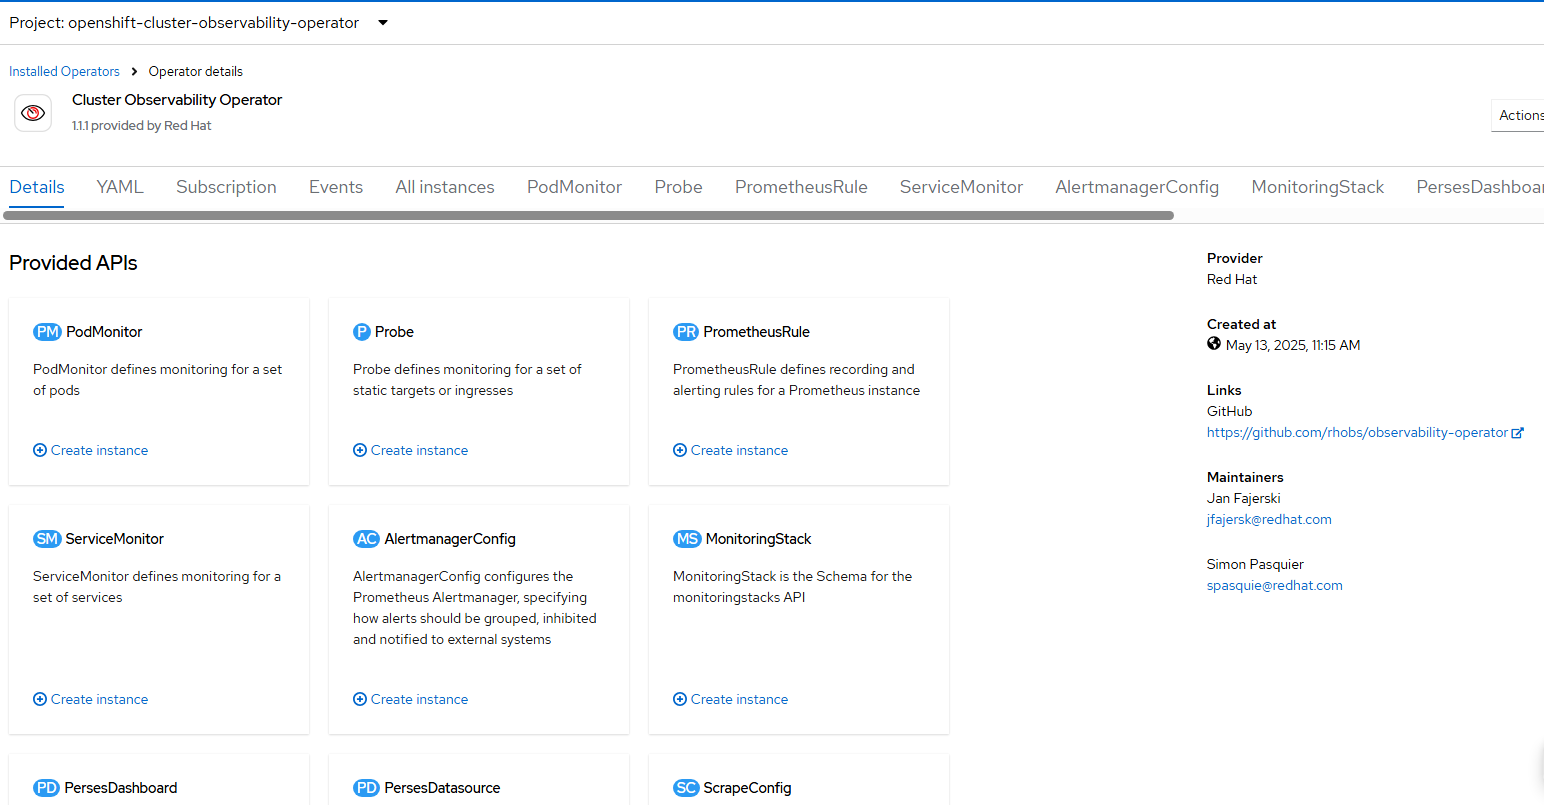
We will get back to this in a little bit.
F. Install Openshift Logging Operator
- Go to Operators --> OperatorHub and search for "Openshift Logging".
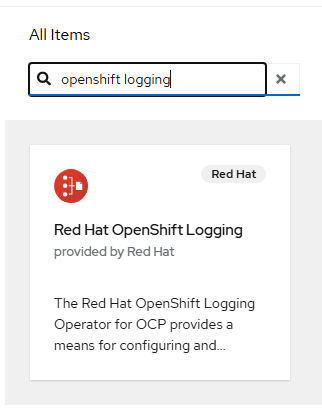
Click on this tile.
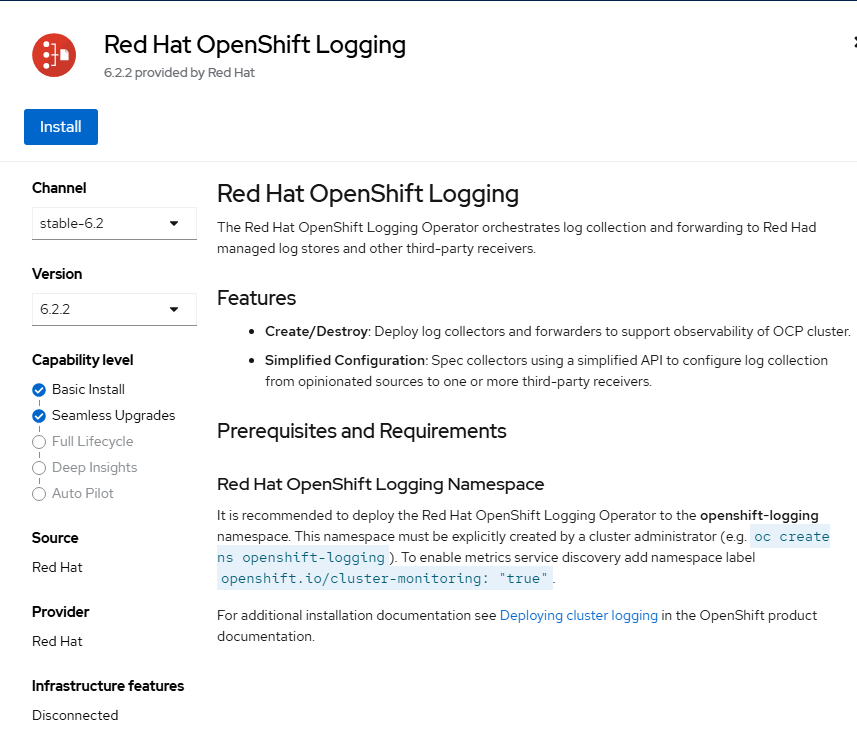
- Click "Install" on this screen. Accept the defaults.
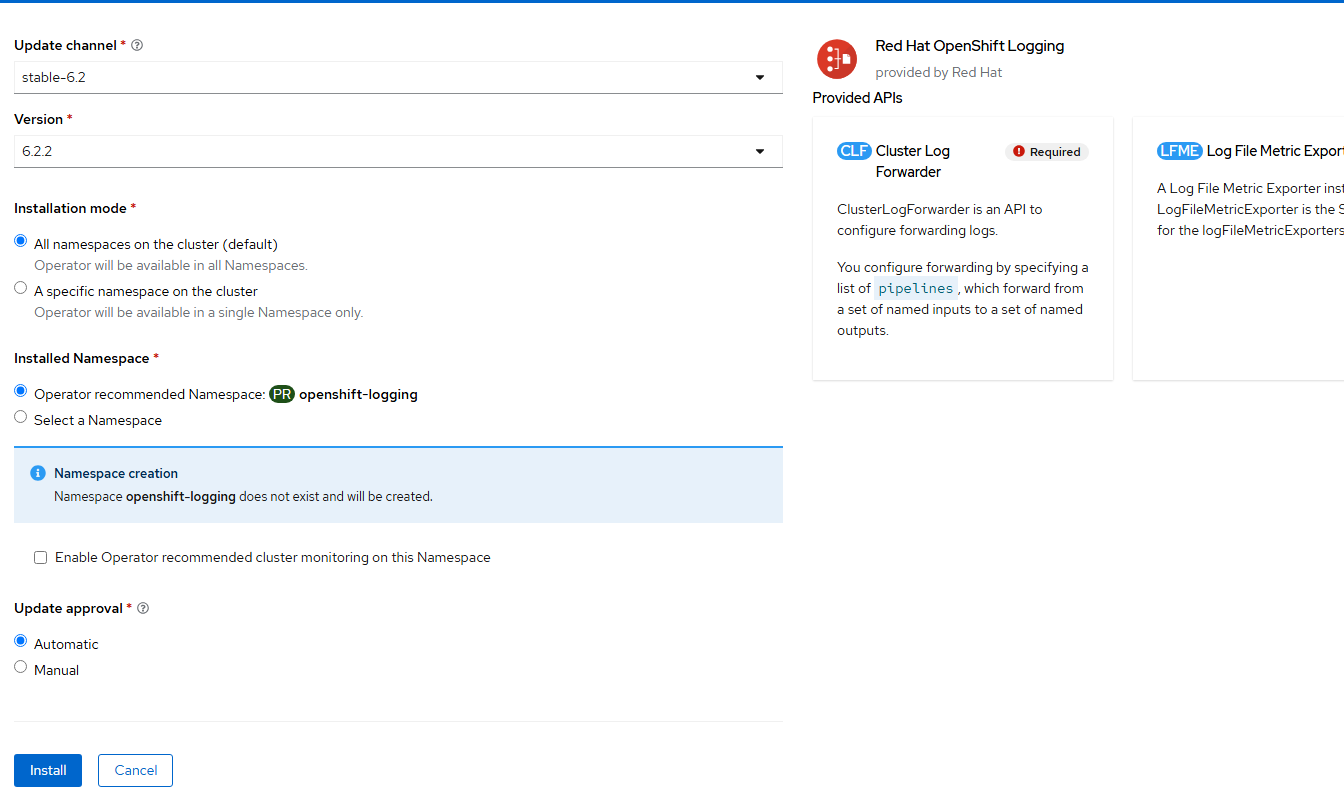
- On the final screen, click "Install". Accept the defaults.
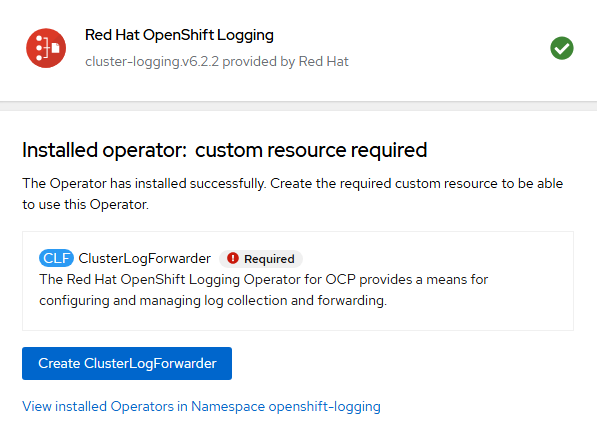
- The ClusterLogForwarder resource will eventually be created but first, we need to setup Lokistack.
- For the rest of this article, the following GitHub repo will be used:
- Apply the logging-namespace.yaml file to ensure that the openshift-logging namespace/project has cluster-monitoring label set to true.
apiVersion: v1
kind: Namespace
metadata:
  name: openshift-logging
  labels:
    openshift.io/cluster-monitoring: "true"
oc apply -f logging-namespace.yaml- Apply the logging-collector-sa.yaml file to create service account.
apiVersion: v1
kind: ServiceAccount
metadata:
  name: logging-collector
  namespace: openshift-logging
oc apply -f logging-collector-sa.yaml- Apply the logging-collector-bindings.yaml file to enabled logging-collector service account write access and other privileges.
apiVersion: rbac.authorization.k8s.io/v1
kind: ClusterRoleBinding
metadata:
  name: logging-collector:write-logs
roleRef:
  apiGroup: rbac.authorization.k8s.io
  kind: ClusterRole
  name: logging-collector-logs-writer
subjects:
- kind: ServiceAccount
  name: logging-collector
  namespace: openshift-logging
---
apiVersion: rbac.authorization.k8s.io/v1
kind: ClusterRoleBinding
metadata:
  name: logging-collector:collect-application
roleRef:
  apiGroup: rbac.authorization.k8s.io
  kind: ClusterRole
  name: collect-application-logs
subjects:
- kind: ServiceAccount
  name: logging-collector
  namespace: openshift-logging
---
apiVersion: rbac.authorization.k8s.io/v1
kind: ClusterRoleBinding
metadata:
  name: logging-collector:collect-infrastructure
roleRef:
  apiGroup: rbac.authorization.k8s.io
  kind: ClusterRole
  name: collect-infrastructure-logs
subjects:
- kind: ServiceAccount
  name: logging-collector
  namespace: openshift-logging
oc apply -f logging-collector-bindings.yaml- Create an S3 bucket for the Logging Lokistack.
Go to Storage --> Object Storage --> Object Bucket Claims
Change to the "openshift-logging" project/namespace
Click "Create Object Bucket Claim".
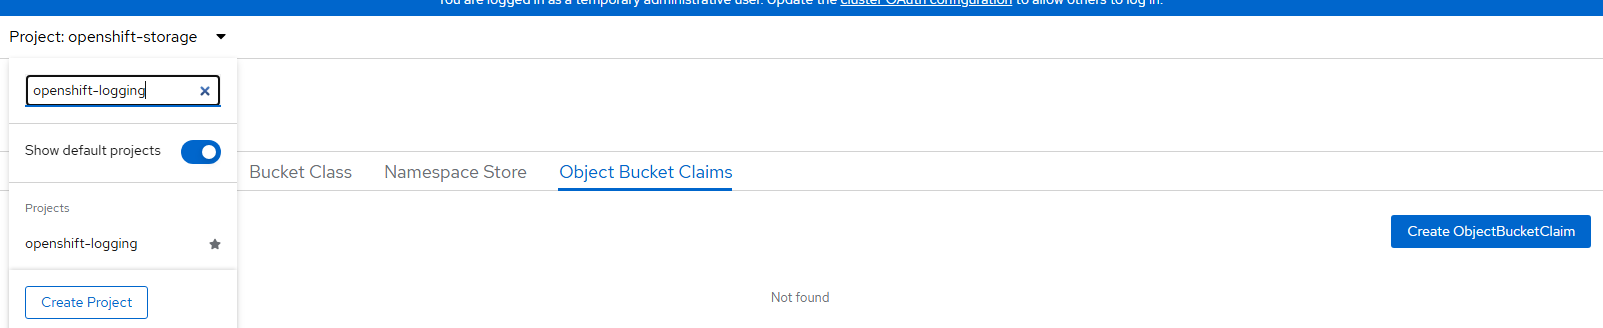
- Object bucket claim name can be called "logging-loki" and select the only storageclass that is available (openshift-storage.noobaa.io) and bucket class (noobaa-default.bucket-class) and click "Create".

- When this is created, some data will appear on the bottom of the screen. Reveal these values and populate into the file called logging-loki-s3-secret.yaml. This file has placeholders so you will need to fill in the values by hitting "reveal values" here.
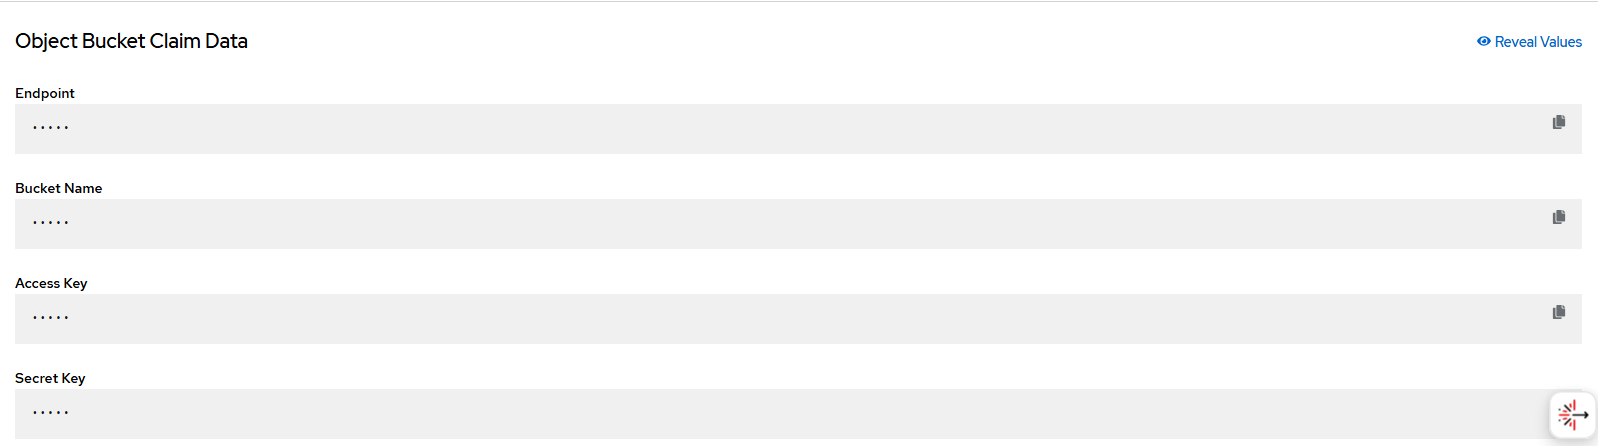
- Fill in the values in the logging-loki-s3-secret.yaml file.
apiVersion: v1
kind: Secret
metadata:
  name: logging-loki-s3
  namespace: openshift-logging
stringData:
  access_key_id: <access_key_id from console>
  access_key_secret: <access_key_secret_from_console>
  bucketnames: loki-logging-<random id from console>
  endpoint: https://s3.openshift-storage.svc:443
Apply this YAML
oc apply -f logging-loki-s3-secret.yaml- Apply the logging-lokistack.yaml file.
apiVersion: loki.grafana.com/v1
kind: LokiStack
metadata:
  name: logging-loki
  namespace: openshift-logging
spec:
  size: 1x.demo
  storage:
    schemas:
    - version: v13
      effectiveDate: "2024-04-02"
    secret:
      name: logging-loki-s3
      type: s3
    tls:
      caName: openshift-service-ca.crt
  storageClassName: lvms-vg1
  tenants:
    mode: openshift-logging
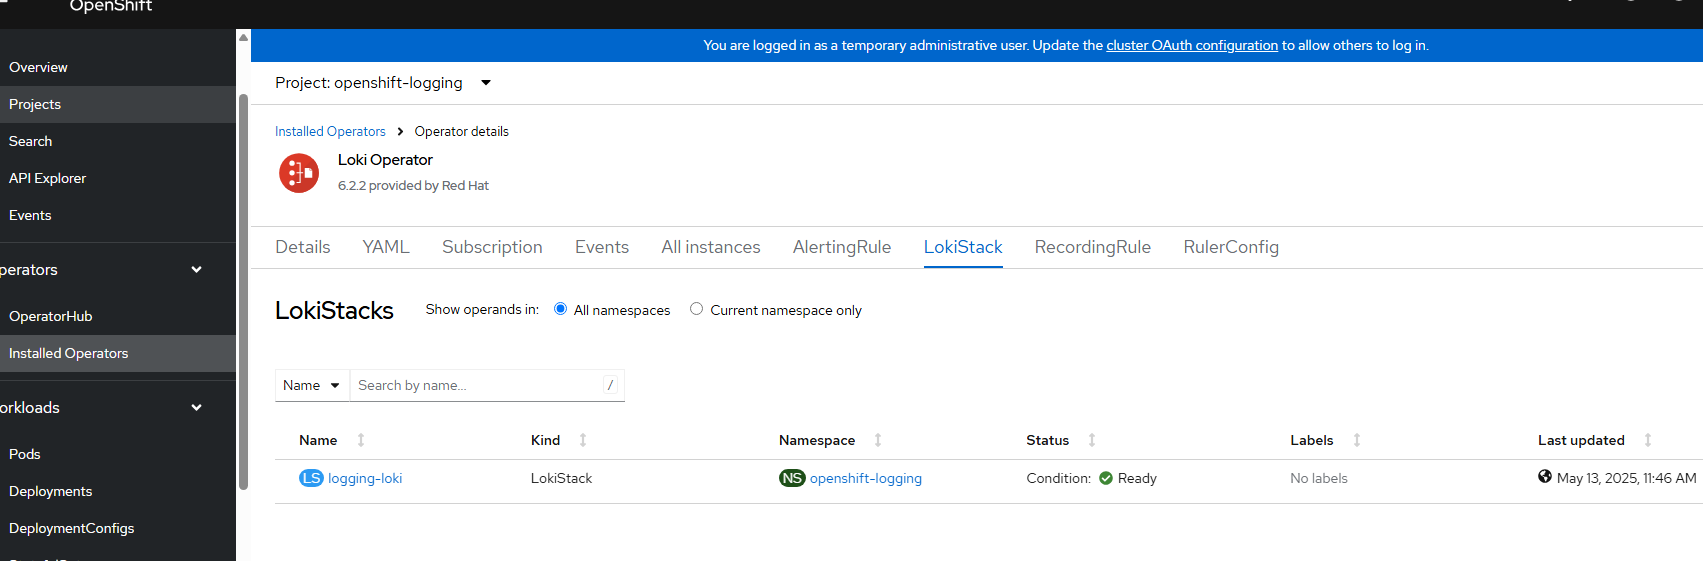
oc apply -f logging-lokistack.yaml- After a few minutes, go to Operators --> Installed Operators -->Loki Operator and ensure the Lokistack instance for logging shows "Ready".
- Now apply the logging-clusterlogforwarder.yaml file.
kind: ClusterLogForwarder
apiVersion: observability.openshift.io/v1
metadata:
  name: instance
  namespace: openshift-logging
spec:
  serviceAccount:
    name: logging-collector
  outputs:
  - name: lokistack-out
    type: lokiStack
    lokiStack:
      target:
        name: logging-loki
        namespace: openshift-logging
      authentication:
        token:
          from: serviceAccount
    tls:
      ca:
        key: service-ca.crt
        configMapName: openshift-service-ca.crt
  pipelines:
  - name: infra-app-logs
    inputRefs:
    - application
    - infrastructure
    outputRefs:
    - lokistack-out
oc apply -f logging-clusterlogforwarder.yaml- Apply the logging-ui-plugin.yaml.
apiVersion: observability.openshift.io/v1alpha1
kind: UIPlugin
metadata:
  name: logging
spec:
  type: Logging
  logging:
    lokiStack:
      name: logging-loki
    logsLimit: 50
    timeout: 30s
oc apply -f logging-ui-plugin.yaml- Shortly after applying this, a web console update will be available for the logging components.
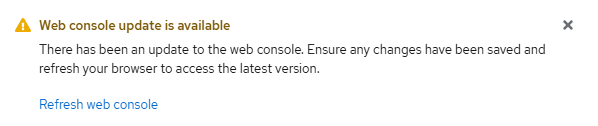
Hit "Refresh web console"
Now, go to Observe --> Logs and logging information should appear shortly.

G. Installing Network Observability Operator
- Go to Operators --> OperatorHub and search for "netobserv". Ensure that you click on the Red Hat one.
- Click "Install" on the next screen. Accept the defaults.
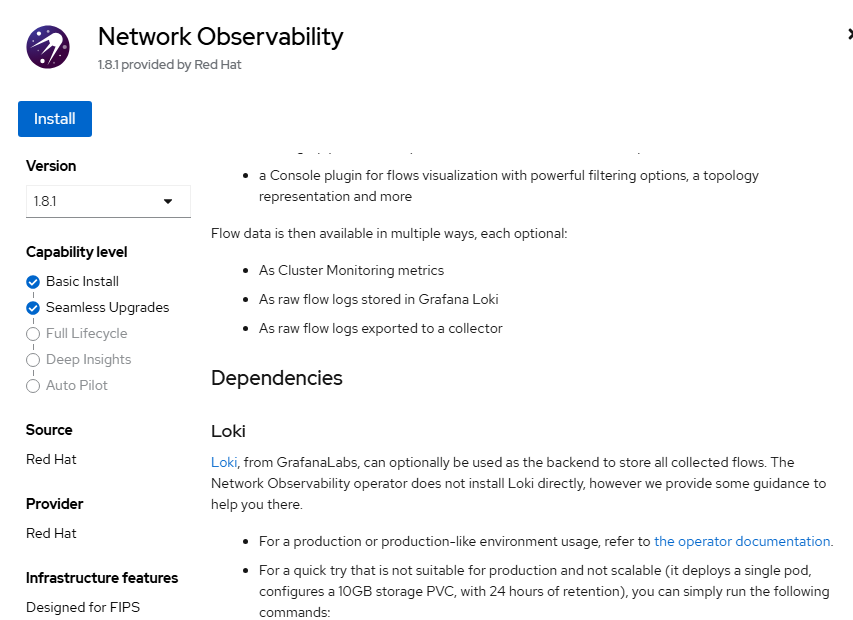
- Click "Install" on the final page. Accept the defaults.
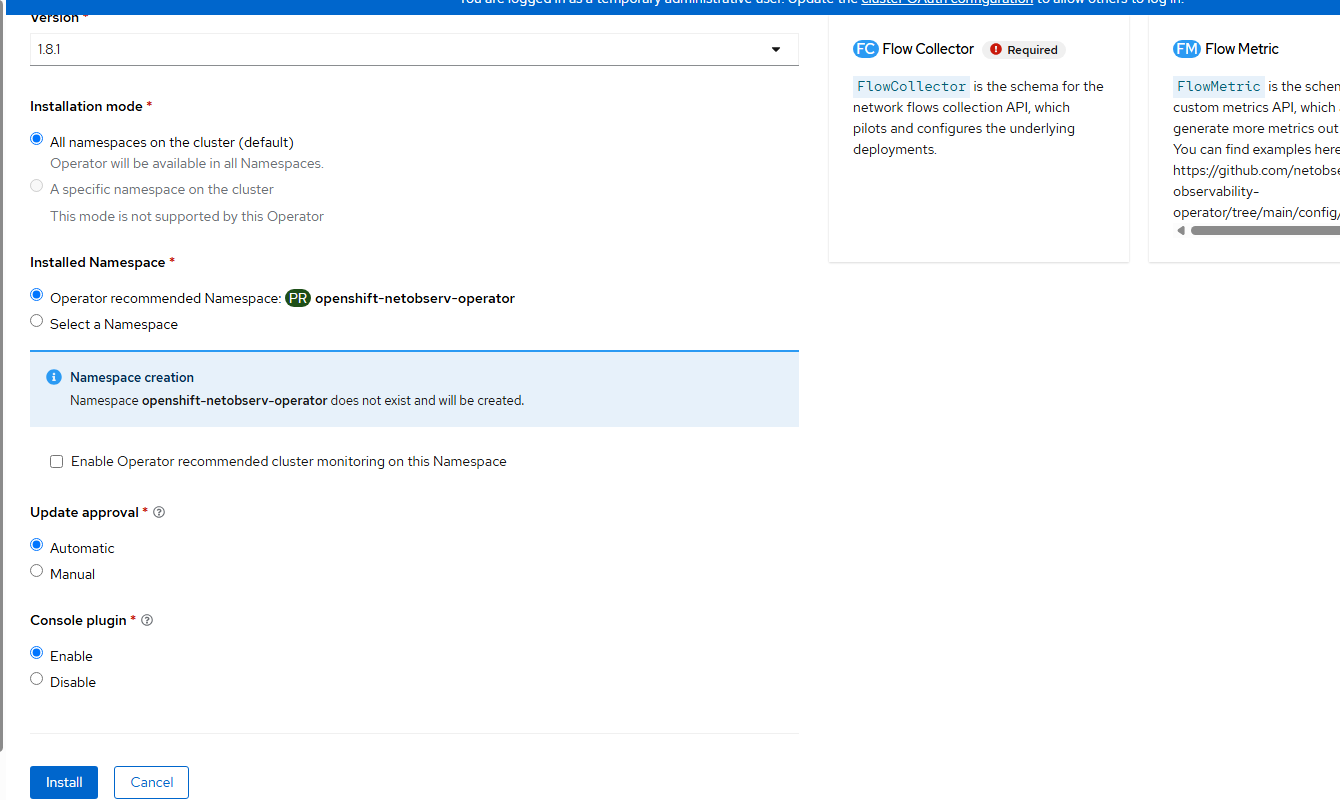
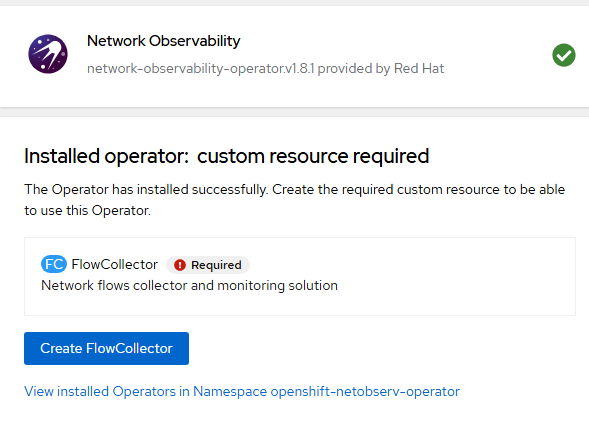
- Once the operator is installed, the option will be presented to install flowcollector resource. Let's not do this yet as we need to create the Lokistack.
- Create the netobserv project/namespace by going to Home --> Projects --> Create Project.
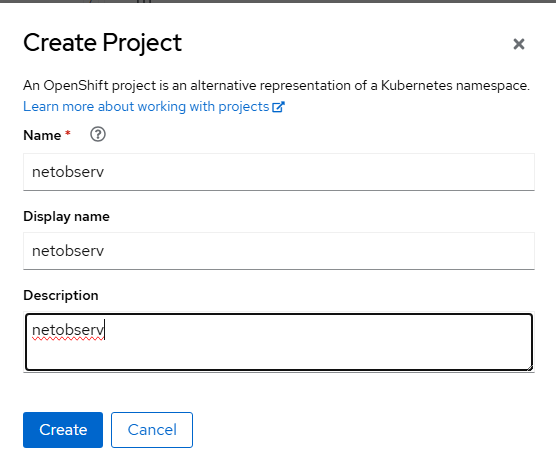
Click "Create"
- Go to Storage --> Object Storage --> Object Bucket Claims and choose the "netobserv" project/namespace. Click "Create ObjectBucketClaim".
I am calling my ObjectBucketClaimName loki-netobserv.
Choose the defaults for StorageClass and BucketClass.
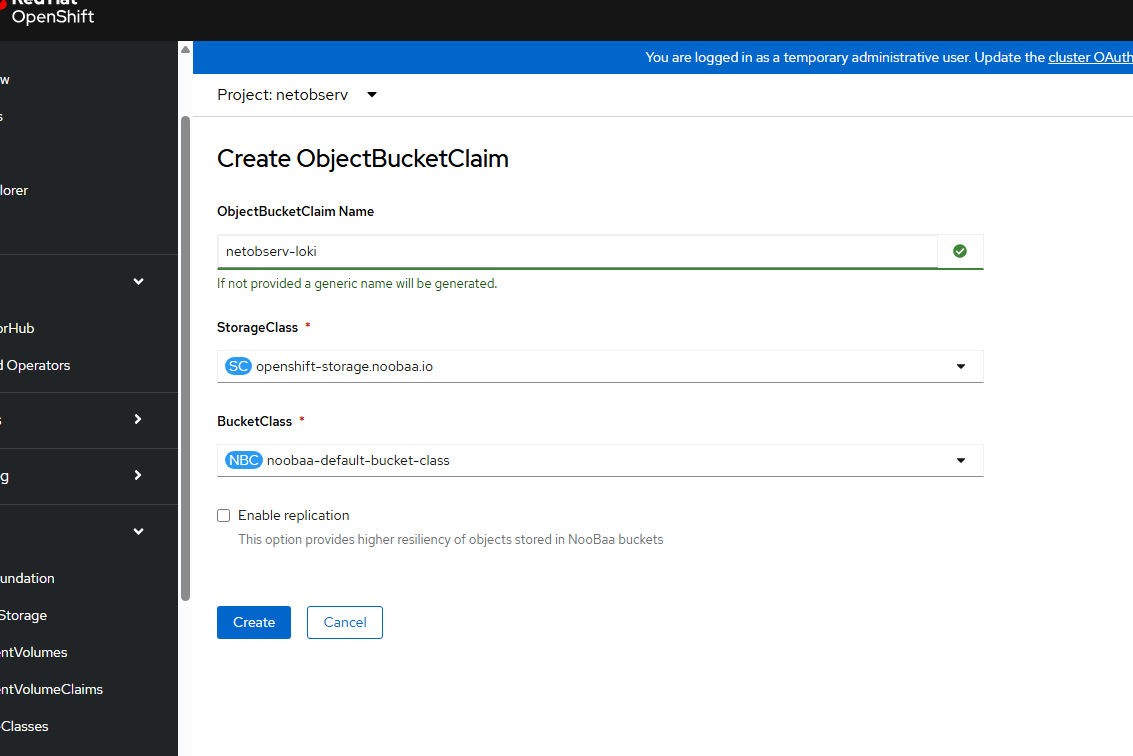
Click "Create".
- In a similar manner as you did with the Loki stack for logging, reveal the values that are shown in the resulting screen.
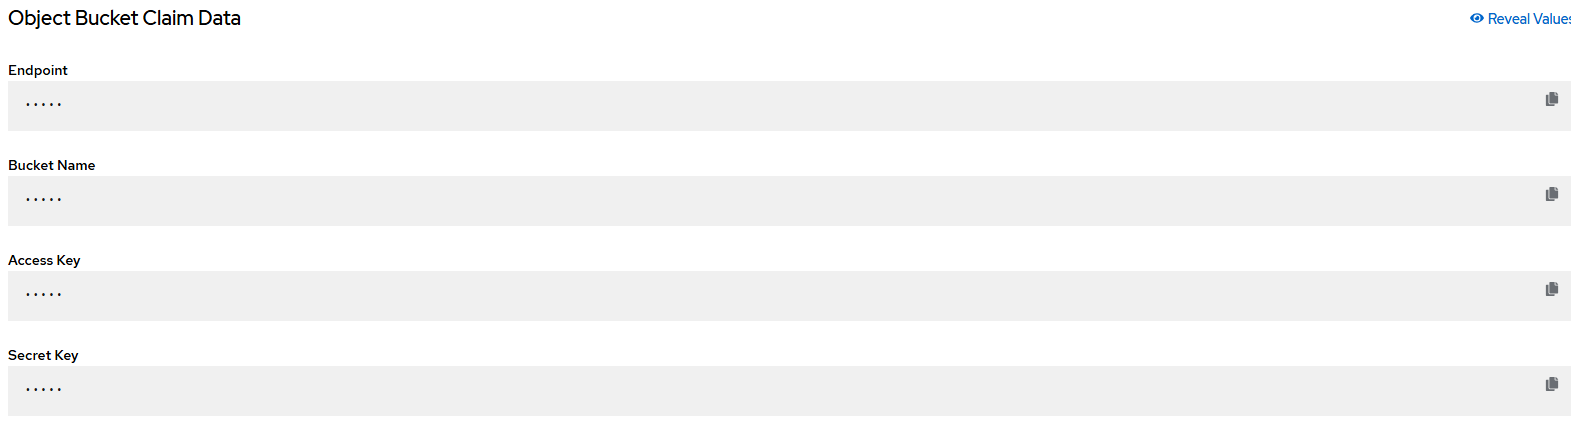
These will go into the template on the repo called netobserv-loki-s3-secret.yaml
apiVersion: v1
kind: Secret
metadata:
  name: loki-s3
  namespace: netobserv
stringData:
  access_key_id: <access key from GUI>
  access_key_secret: <access key secret from GUI>
  bucketnames: netobserv-loki-<random UID from GUI>
  endpoint: https://s3.openshift-storage.svc:443
Apply this file.
oc apply -f netobserv-loki-s3-secret.yaml- Apply the netobserv-lokistack.yaml file.
apiVersion: loki.grafana.com/v1
kind: LokiStack
metadata:
  name: loki
  namespace: netobserv
spec:
  size: 1x.demo
  storage:
    schemas:
    - version: v13
      effectiveDate: '2024-04-02'
    secret:
      name: loki-s3
      type: s3
    tls:
      caName: openshift-service-ca.crt
  storageClassName: lvms-vg1
  tenants:
    mode: openshift-network
oc apply -f netobserv-lokistack.yaml- Give this a few minutes and go to Operators --> Installed Operators --> Lokistack and ensure that the instance in the netobserv namespace/project is "Ready".

- Apply the netobserv-flowcollector.yaml resource.
apiVersion: flows.netobserv.io/v1beta2
kind: FlowCollector
metadata:
  name: cluster
spec:
  namespace: netobserv
  deploymentModel: Direct
  agent:
    type: eBPF
    ebpf:
      sampling: 50
      logLevel: info
      privileged: false
      resources:
        requests:
          memory: 50Mi
          cpu: 100m
        limits:
          memory: 800Mi
  processor:
    logLevel: info
    resources:
      requests:
        memory: 100Mi
        cpu: 100m
      limits:
        memory: 800Mi
    logTypes: Flows
    advanced:
      conversationEndTimeout: 10s
      conversationHeartbeatInterval: 30s
  loki:
    mode: LokiStack
  consolePlugin:
    register: true
    logLevel: info
    portNaming:
      enable: true
      portNames:
        "3100": loki
    quickFilters:
    - name: Applications
      filter:
        src_namespace!: 'openshift-,netobserv'
        dst_namespace!: 'openshift-,netobserv'
      default: true
    - name: Infrastructure
      filter:
        src_namespace: 'openshift-,netobserv'
        dst_namespace: 'openshift-,netobserv'
    - name: Pods network
      filter:
        src_kind: 'Pod'
        dst_kind: 'Pod'
      default: true
    - name: Services network
      filter:
        dst_kind: 'Service'
oc apply -f netobserv-flowcollector.yaml- After a short time a window will appear saying that a web console refresh needs to be made. Click "Refresh web console".
After you do this a new menu will appear in the web console under Observe --> Network Traffic
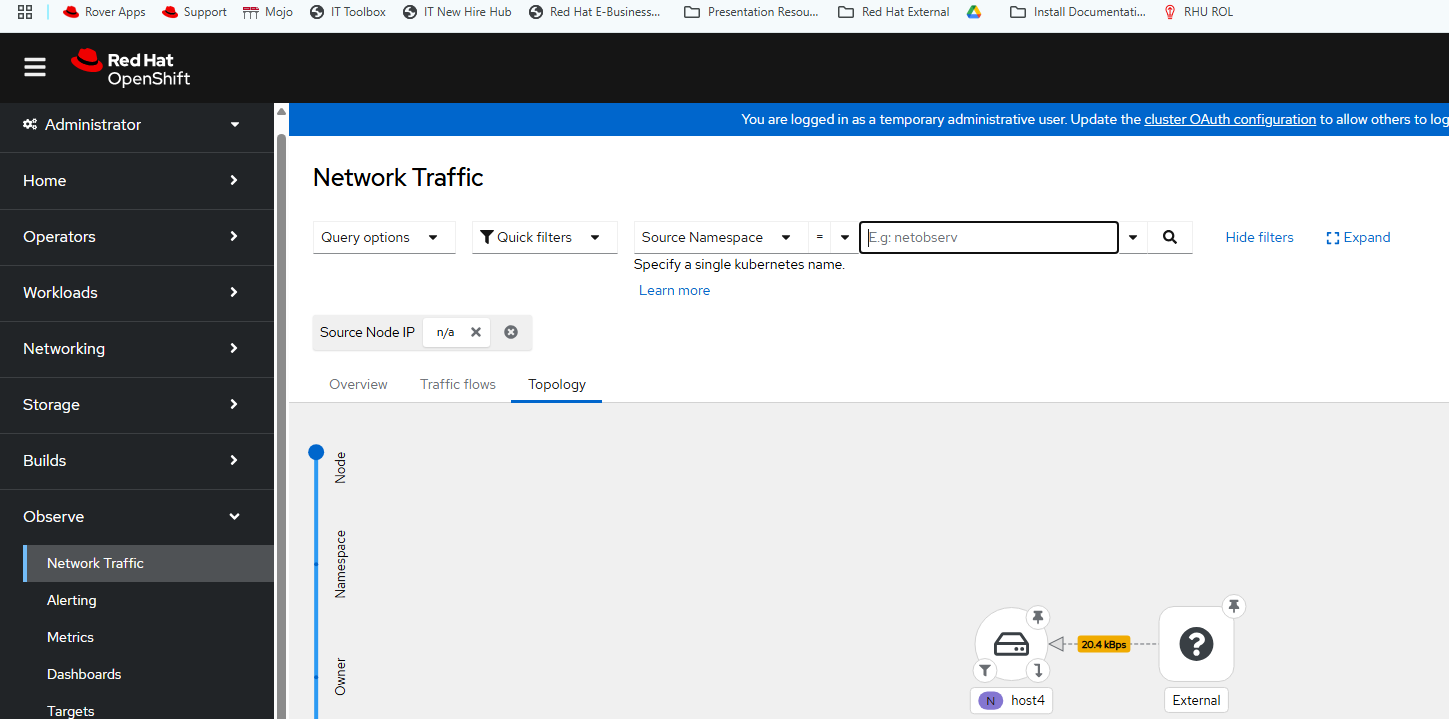
The point of this article was to get these components working. I will have some follow-up material soon.