
Introduction to Openshift Virtualization
In the next series of posts, I will be doing a full walkthrough of Openshift Virtualization. Openshift Virtualization uses libvirt under the hood and is based on the the upstream Kubevirt project but with lots of enhancements and integrations with Openshift.
This will be a series of articles with the first one covering the installation of the operator, the HyperConverged resource (and other CRs) with a conclusion describing some high-level actions that can be performed using the integrations built-in to the Openshift Web Console.
Here is the description on some of the features of Openshift Virtualization taken from the Openshift documenatation site.
- Creating and managing Linux and Windows virtual machines (VMs)
- Running pod and VM workloads alongside each other in a cluster
- Connecting to virtual machines through a variety of consoles and CLI tools
- Importing and cloning existing virtual machines
- Managing network interface controllers and storage disks attached to virtual machines
- Live migrating virtual machines between nodes
In some of my explanations, I will use wording from the Kubevirt website because their definitions and explanations are spot-on.
This article will be organized as follows:
Prerequisites
Installation of Operator and Creating Hyperconverged Object
High-Level Walkthrough of Console Menus
Prerequisites
In order to install the operator, you will need some type of persistent storage such as Openshift Data Foundation and your OCP nodes will need to support virtualization. This BIOS setting setting is typically turned on nowadays but you may need to follow some additional steps to enable this if not. Also, when doing this on OCP nodes that are already virtualized, there is a slight performance hit but it is not as bad as it once was with the newer hardware available nowadays. Lastly, the cluster should have enough resources to accommodate whatever requirements are necessary for the virtual machines that will be hosted (CPU/memory/storage).
I am using Openshift 4.16 on a 3 node cluster (1 SNO master/worker with two additional workers) and it is a bare-metal type deployment which uses the web-based Assisted Installer. The steps that follow should be mostly the same when working with any of the IPI-based installation methods (including cloud providers).
Installation of Operator and Creating Hyperconverged Object
- In the Openshift Web Console, go to Operators --> OperatorHub

- Search for "Openshift Virtualization"
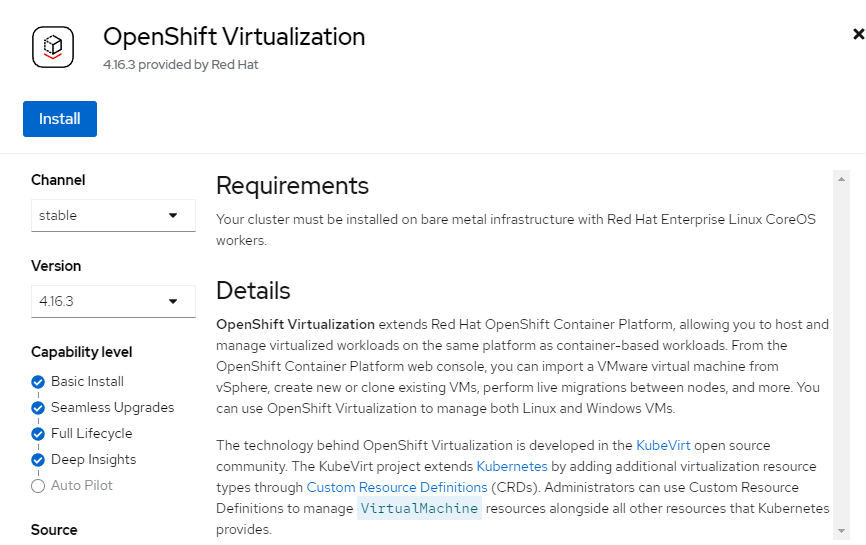
- When you click on this option to start the installation of the operator, the next screen will provide a high-level description of the operator. Just accept default options which is channel: stable and version: 4.16.3 at time of this writing.
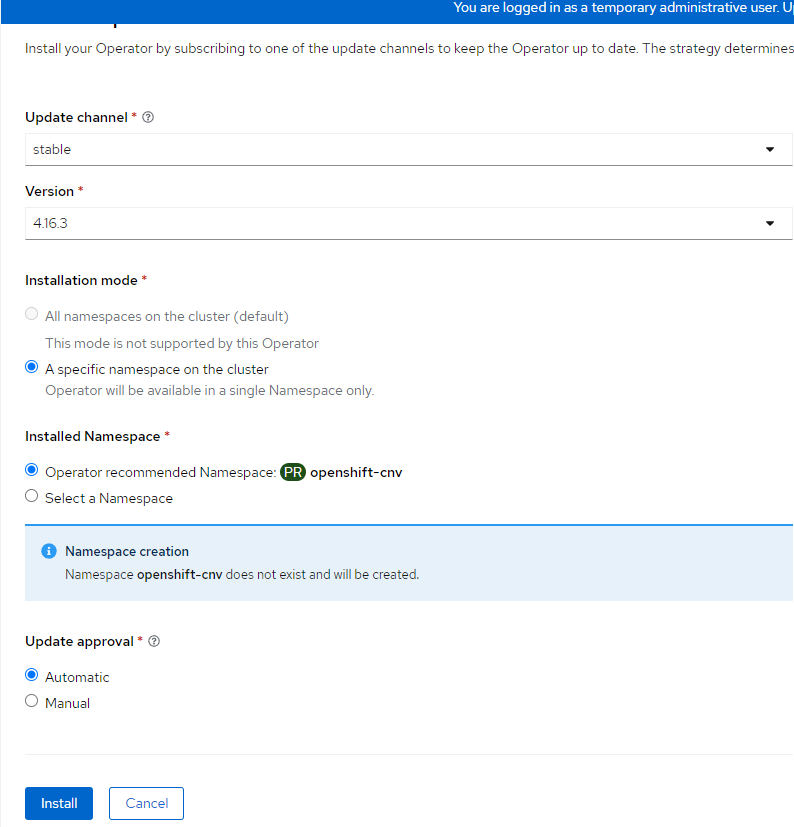
- On the next screen, accept the defaults which will include creating a namespace called openshift-cnv and automatic updates to the operator. Click "Install"
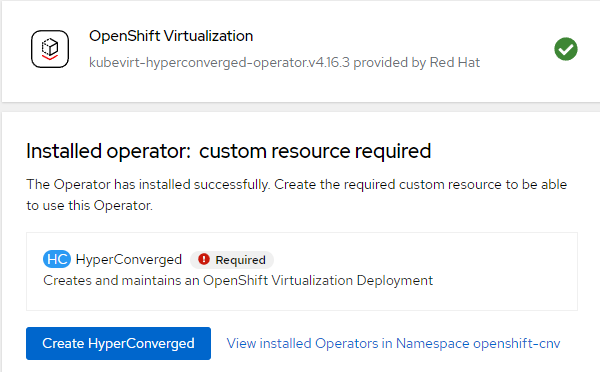
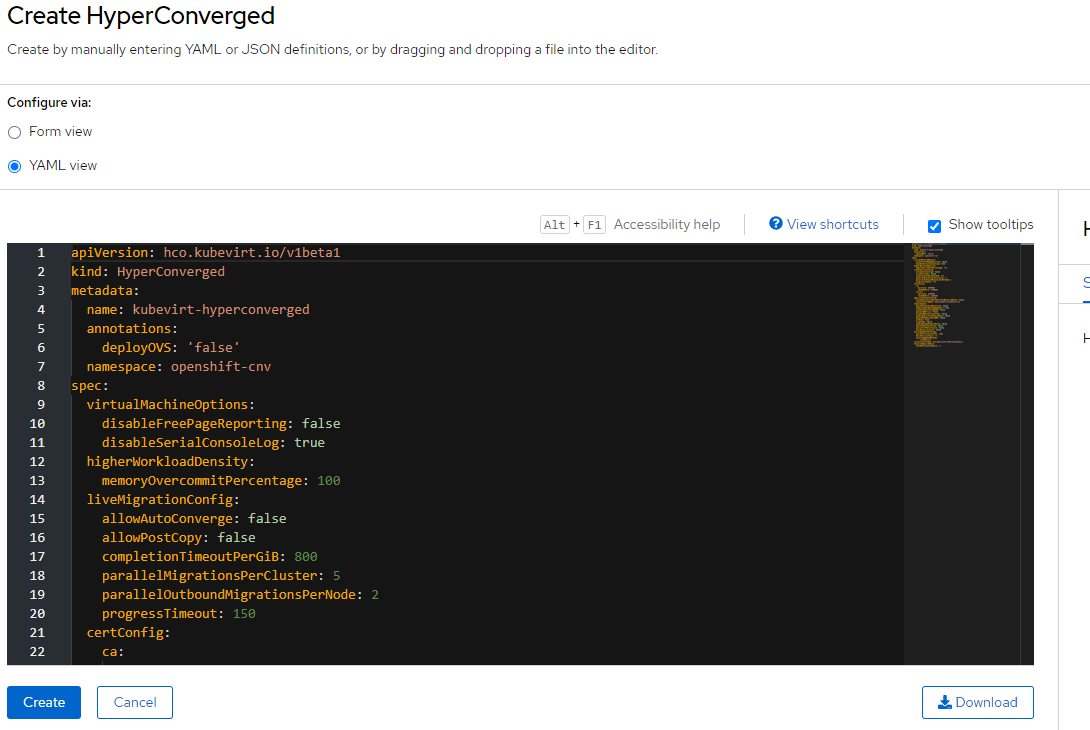
- On the resulting screen, an option will show to "Create HyperConverged". This is the default CR that enables the base functionality of Openshift Virtualization and is necessary for all of this to work. Click "Create HyperConverged".
- Accepting the default YAML definition for now will work for these purposes. Some modifications may be made later depending on which topics I decide to cover. Click "Create".
- The status screen will update after some time to show the operator as installed.

and you will also see an update to the web console plugin. This plugin will populate the Openshift Web Console with a virtualization sub-menu. For the web-console dialog, just refresh the console.

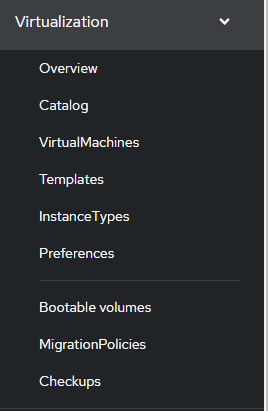
- After refreshing the web-console, the following submenu will appear. These will be some of the topics that will be covered in the follow-on articles.
I have done no other custom configuration at this point. In the follow-on articles I will mention anything that deviates from the base-install to accomplish a specific task. All that I have is a regular OCP cluster with an Openshift Data Foundation all with default settings.
High-Level Walkthrough of Console Menus
The last section of this article ended with showing a menu with the following sections:
A. Overview
B. Catalog
C. VirtualMachines
D. Templates
E. InstanceTypes
F. Preferences
G. Bootable Volumes
H. MigrationPolicies
I. Checkups
I will go through these briefly below
A. Overview
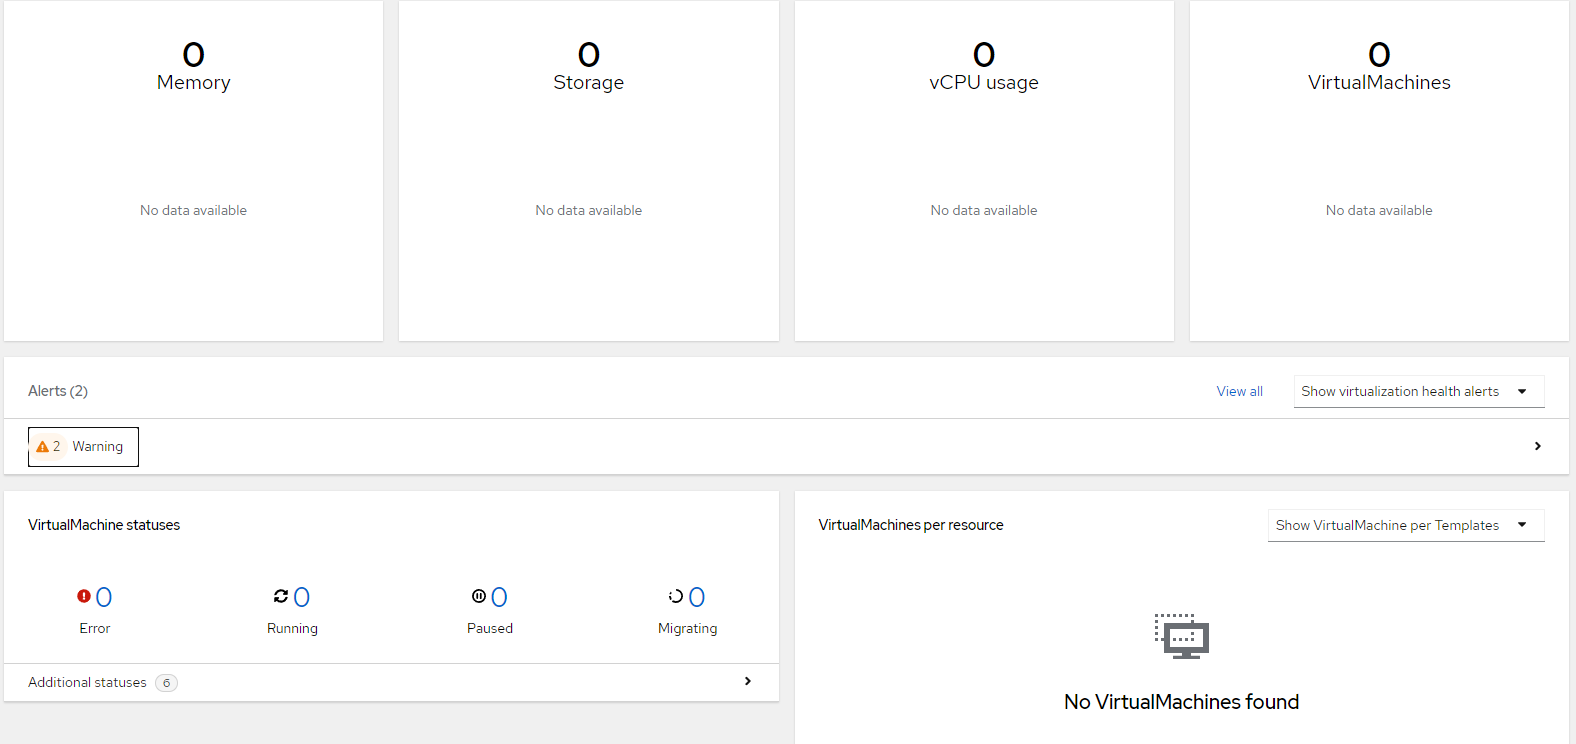
The Overview screen provides "getting started" resources and information from a cluster-wide level in regards to resource utilization by Openshift Virtualization. In addition the main screen shows alerts and virtual machine statuses across the cluster. Lastly, there is a section that shows a breakdown of the virtual machines by resource/template. Nothing shows in this screenshot yet since this is a new instance.
The second tab on the overview screen shows the top consumers in regards to CPU, memory, memory swap, etc. It can be grouped by VM, project or node.
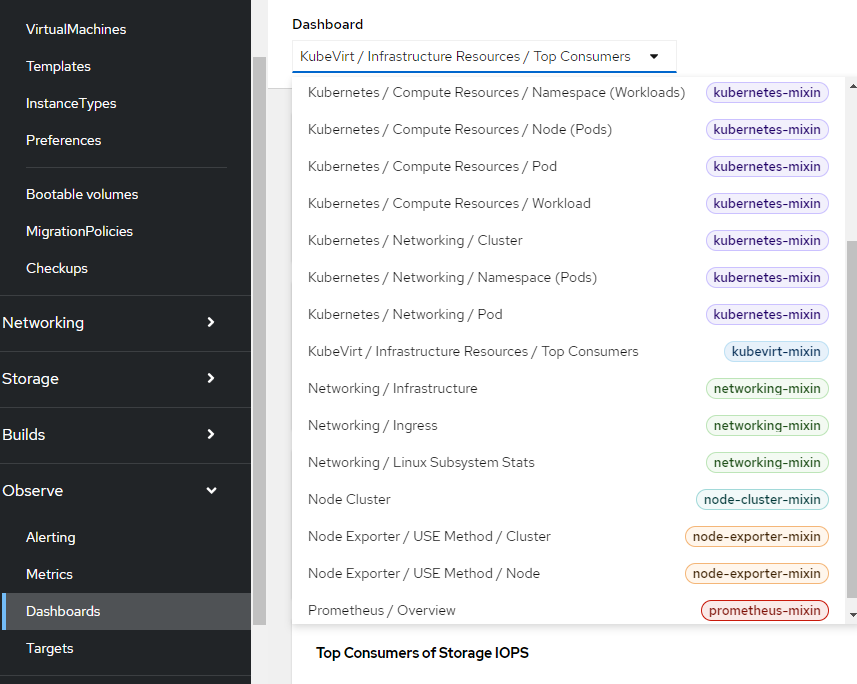
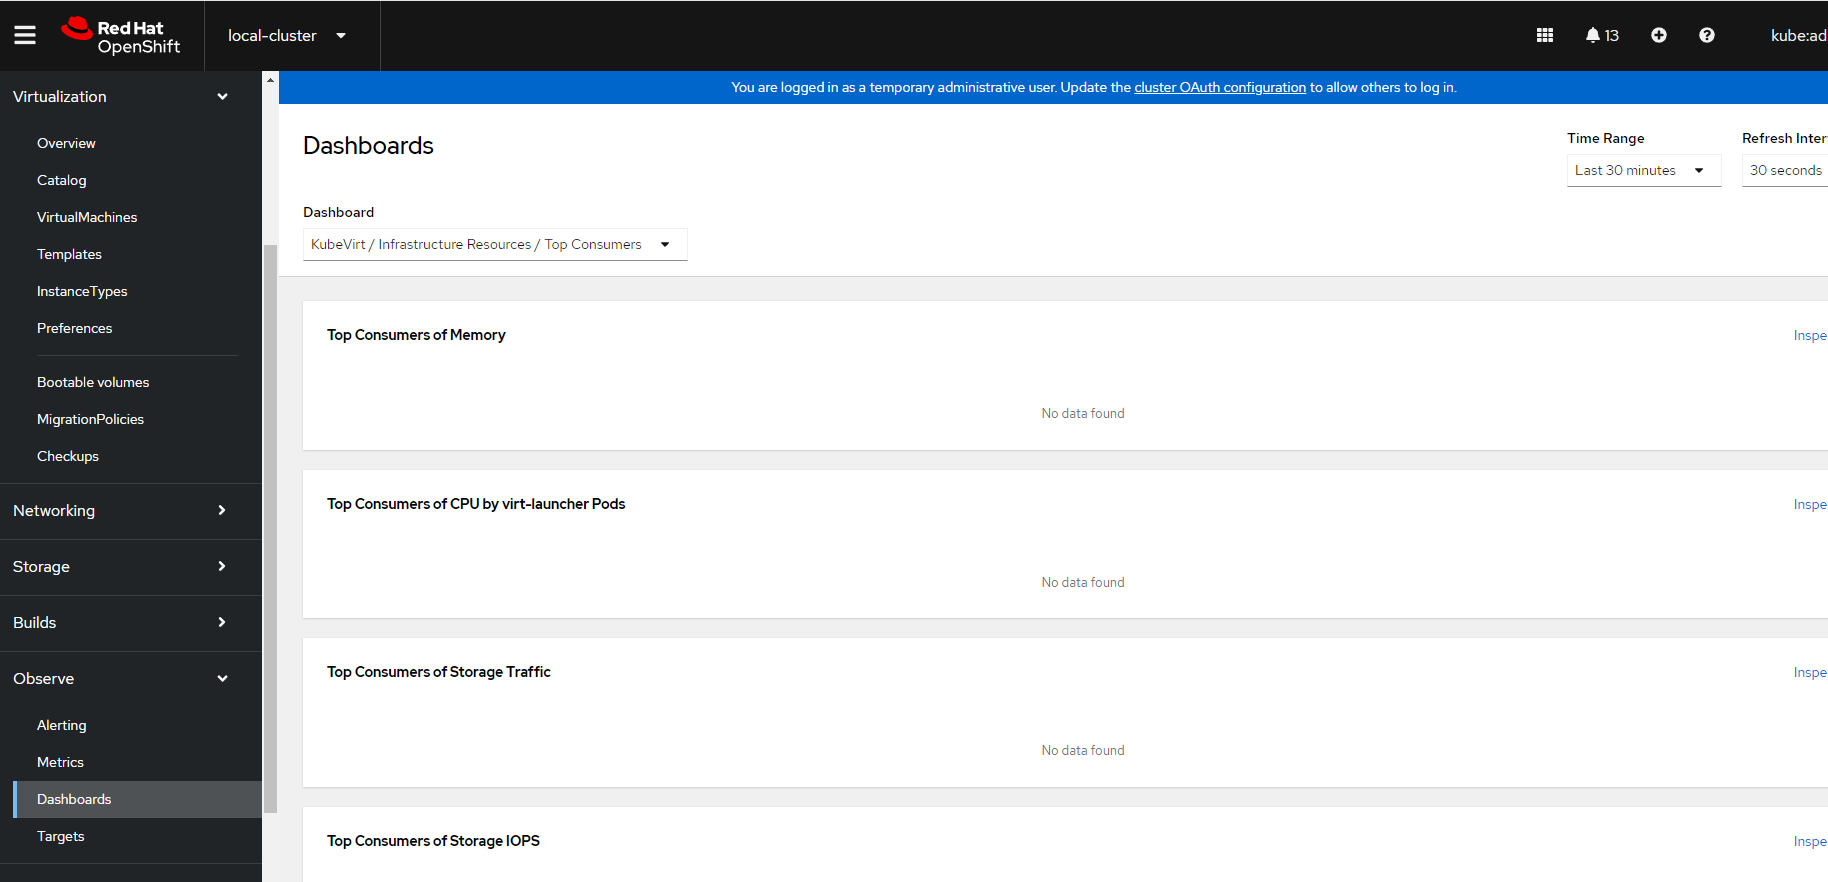
This graph information is based on a Grafana dashboard that is populated when Openshift Virtualization is installed. There is a quick-link on this page to get to the virtualization dashboard (which shows even more metrics) or you can go to the following from the main Openshift Web console:
Observe --> Dashboards --> Kubevirt/Infrastructure Resources/Top Consumers
The Migrations shows LiveMigrations. If one node goes down, this is the mechanism that allows the virtual machine to automatically move/start-up on another node.
The Settings tab allows fine-grained control of global VM settings from a cluster-wide perspective and user scoped options such as assigning SSH keys to VM at build-time and determining what permissions users have.
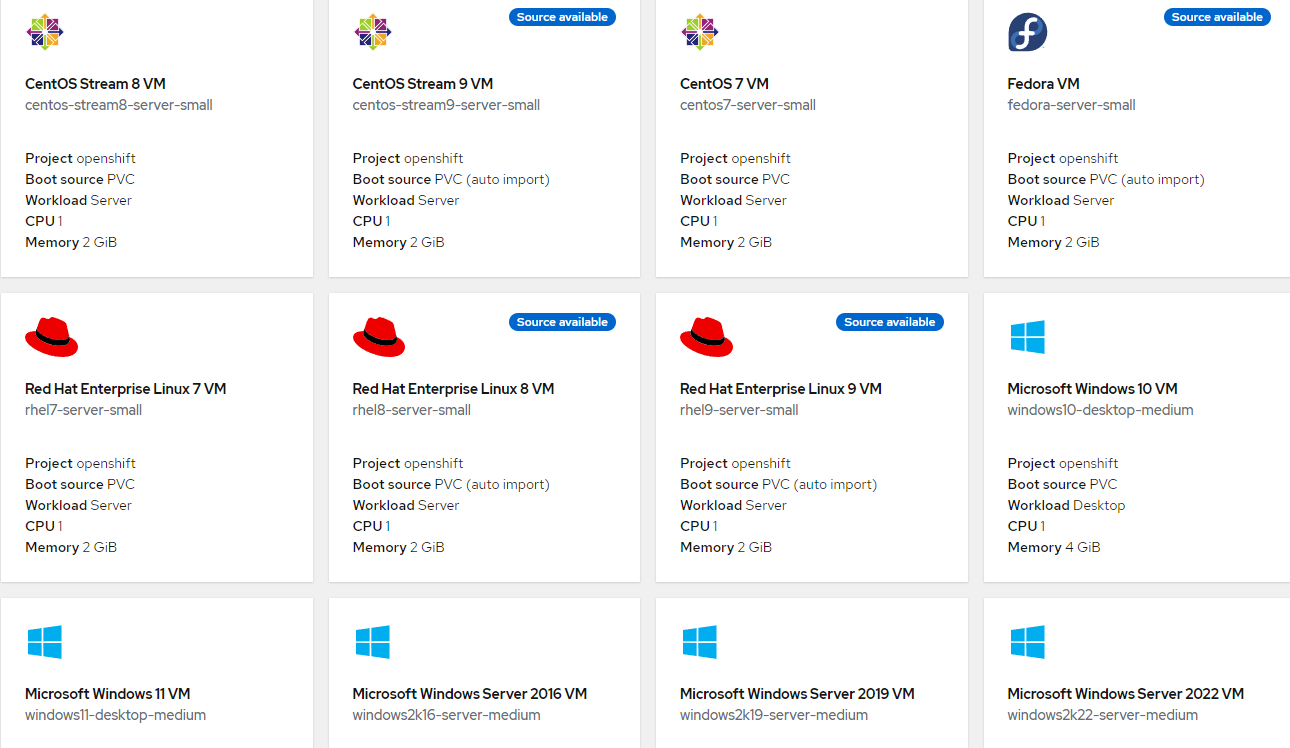
B. Catalog
Openshift Virtualization comes pre-populated with templates based on Centos Stream 8/9, Fedora, RHEL 7/8/9, and Windows 10/11 and 2016-2022 server variants.
C. Virtual Machines
This menu provides a short-cut to deploy virtual machines
D. Templates
This menu provides pre-populated operating systems with set CPU/memory sizes
E. Instance Types
This menu shows the various instance types which define instance sizes (CPU/Memory) and other specialized hardware settings such as nume, dedicated CPU, etc.
F. Preferences
This menu shows configurations that can be applied to VMs to include additional devicetypes, and the minimum cpu/memory allocated to the VM.
G. Bootable Volumes
Snapshots or other libvirt-based disk images can be consumed by Openshift Virtualization to be used as a bootable volume. There are pre-populated volumes such as centos-stream9, fedora, rhel 8, and rhel 9.
H. Migration Policies
This object defines the policies that control how VMs are migrated from one node in the cluster to another (or even inter-cluster).
I. Checkup
The sub-menu allows the creation of checkups that can be run to check network-connectivity/latency between two VMs, zero packet loss with DPDK, and checks for optimal storage configuration for Openshift Virtualization