
Intercluster VM Communication using ACM/Submariner
This will be a quick blog to show how to enable Submariner networking between two clusters that are managed by ACM. The hub cluster and the virt cluster are SNO clusters in this use-case and the version of Openshift is 4.18.14.
I wrote an article a few years ago on Submariner. Most of the steps are the same but some of the menus may have changed but I will write this updated article.
Prerequisites
-ACM/Multicluster Engine enabled with defaults on Hub cluster.
-Openshift Virtualization enabled on Virt cluster.
-LVM storage was used for this but anything will work.
-All default settings for each of these were selected.
Installation
I created a subdirectory on my original Github repo called 2025 with this new code.
1. First, let's create the ClusterSet which will contain your local-cluster/Hub and the Virt cluster.
apiVersion: cluster.open-cluster-management.io/v1beta2
kind: ManagedClusterSet
metadata:
  name: submariner
clusterset.yaml
oc apply -f clusterset.yaml- Install MultiCluster-AddOn for Submariner. An entry for each cluster that will be part of this Submariner ClusterSet should be specified in here. Your cluster names will likely be different.
kind: ManagedClusterAddOn
metadata:
     name: submariner
     namespace: local-cluster
spec:
     installNamespace: submariner-operator

---

kind: ManagedClusterAddOn
metadata:
     name: submariner
     namespace: virt
spec:
     installNamespace: submariner-operator
mca.yaml
oc apply -f mca.yaml- Apply the ManagedClusterSetBinding.
kind: ManagedClusterSetBinding
metadata:
  name: submariner
  namespace: open-cluster-management
spec:
  clusterSet: submariner
mcb.yaml
oc apply -f mcb.yaml- Create the Broker.
apiVersion: submariner.io/v1alpha1
kind: Broker
metadata:
     name: submariner-broker
     namespace: submariner-broker
     labels:
         cluster.open-cluster-management.io/backup: submariner
spec:
     globalnetEnabled: true
broker.yaml
- Label the clusters that will part of this Submariner/ClusterSet.
oc label managedclusters local-cluster "cluster.open-cluster-management.io/clusterset=submariner" --overwrite

oc label managedclusters virt "cluster.open-cluster-management.io/clusterset=submariner" --overwrite
- Apply the SubmarinerConfig to each cluster that is part of this Submariner/ClusterSet. I have two entries. One is for local-cluster/Hub and the other for virt. Add yours as appropriate.
---

apiVersion: submarineraddon.open-cluster-management.io/v1alpha1
kind: SubmarinerConfig
metadata:
    name: submariner
    namespace: local-cluster
spec:
    clusterID: hub
    gatewayConfig:
      gateways: 1

---

kind: SubmarinerConfig
metadata:
    name: submariner
    namespace: virt
spec:
    clusterID: virt
    gatewayConfig:
      gateways: 1
submariner-config.yaml
oc apply -f submariner-config.yaml- Let's now verify that our connections are up using the subctl utility.
This can be downloaded from:
Get the latest version for your architecture. In my case, it is amd64.
- Untar it and copy to /usr/local/bin. Chmod 755.
tar xf subctl-0.18.5-3-linux-amd64.tar.xz

cp subctl /usr/local/bin

chmod 755 /usr/local/bin/subctl- Ensure that you can see the connections between the clusters.
On hub, run:
subctl show connections
From the hub perspective, there is a virt cluster connection.

Do the same for the virt cluster:
subctl show connectionsFrom the virt perspective, there is a hub cluster connection.

Creating the VM
Now, we will create a VM on the Virt cluster and expose a web server running on it.
I was in the default project/namespace when I created this VM.
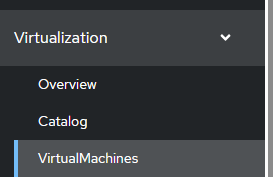
- Go to Virtualization --> Virtual Machines from the Virt web console.
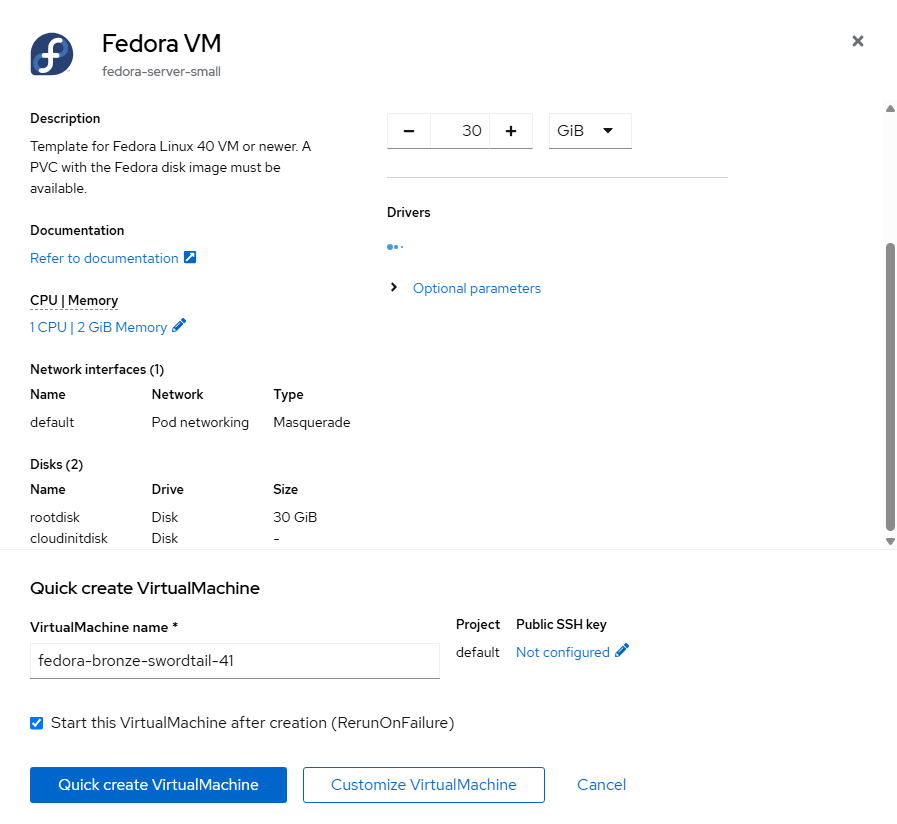
- Choose Create --> From Template

- On the next page, choose Fedora VM.

- Accept the defaults and "Quick Create VirtualMachine".
- After a short-time, this VM will deploy.
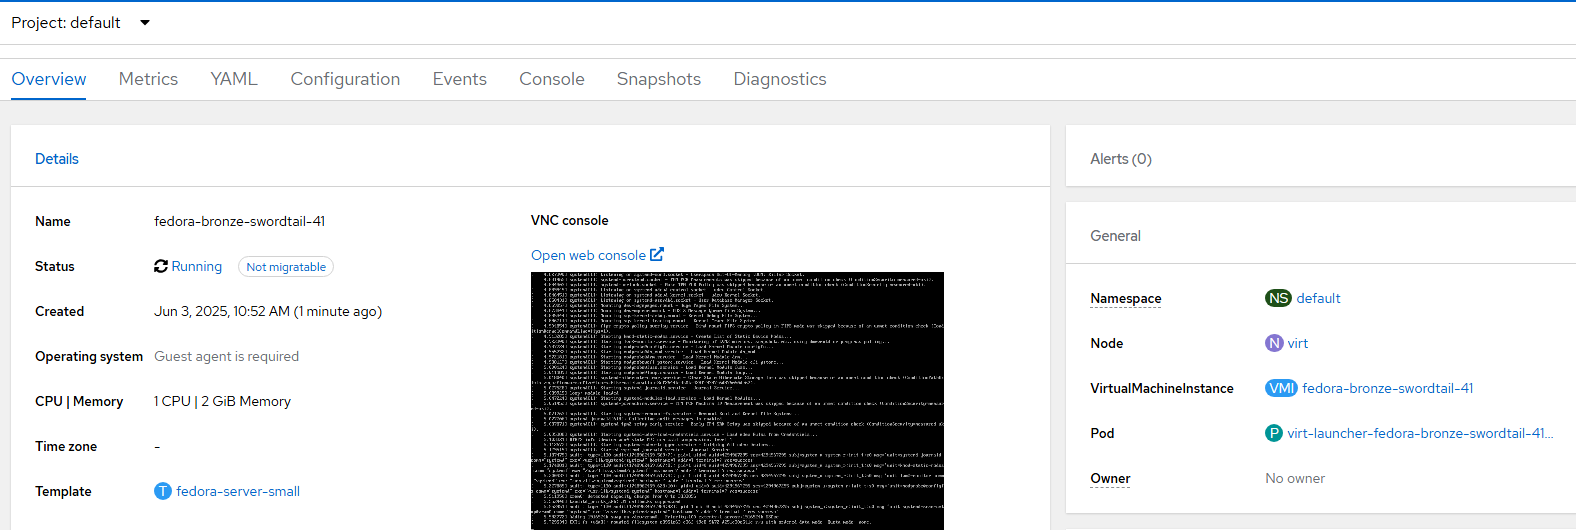
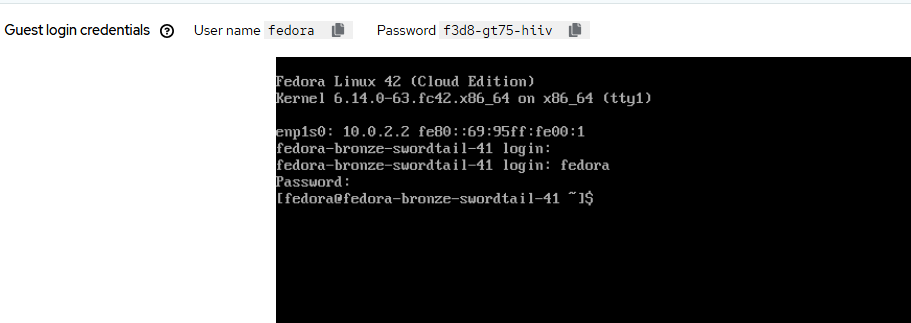
- Once it is deployed and running, go to the "Open web console" link right underneath of "VNC console". Login with the credentials that are shown at the top (generated by cloud-init).
- Once logged in, let's install the Apache web server, enable it and start via systemd.
yum install httpd

systemctl enable httpd

systemctl start httpd
- Verify that port 80 is open.
ss -tln|grep 80
- Now let's create a service that exposes port 80 from this VM.
You will need to change your selector to match the name of your VM.
apiVersion: v1
kind: Service
metadata:
  name: example
  namespace: default
spec:
  ports:
  - port: 80
    protocol: TCP
    targetPort: 80
  selector:
    vm.kubevirt.io/name: fedora-bronze-swordtail-41
  type: ClusterIP
httpd-vm-service.yaml
- Verify the service is connected and assigned a clusterIP.
oc get svc example -n default
- Use the subctl utility to export the service through Submariner.
subctl export service --namespace default example
- Verify that the service is exposed on virt cluster.
oc get serviceexport -n default
On the hub cluster, verify the import appears.
oc get serviceimport -n default
Verifying Connectivity from Hub Cluster
To verify connectivity from the hub cluster to port 80 on this VM running on Virt cluster, we will deploy a network test pod.
- Grab the pod definition from:
kind: Deployment
apiVersion: apps/v1
metadata:
  name: network-tools
spec:
  replicas: 1
  selector:
    matchLabels:
      app: network-tools
  template:
    metadata:
      creationTimestamp: null
      labels:
        app: network-tools
        deploymentconfig: network-tools
    spec:
      containers:
        - name: network-tools
          image: quay.io/openshift/origin-network-tools:latest
          command:
            - sleep
            - infinity
          resources: {}
          terminationMessagePath: /dev/termination-log
          terminationMessagePolicy: File
          imagePullPolicy: Always
      restartPolicy: Always
      terminationGracePeriodSeconds: 30
      dnsPolicy: ClusterFirst
      securityContext: {}
      schedulerName: default-scheduler
      imagePullSecrets: []
  strategy:
    type: RollingUpdate
    rollingUpdate:
      maxSurge: 25%
      maxUnavailable: 25%
  revisionHistoryLimit: 10
  progressDeadlineSeconds: 600
  paused: false
pod.yaml
Apply if on the local-cluster or any remote cluster in your environment that is different from the cluster you deployed the VM on.
oc apply -f pod.yaml- RSH into the pod that was created.
oc rsh <network-tools-pod>
- Curl the DNS name of the service.
curl example.default.svc.clusterset.localYou will see the output of the standard/default Apache web page.
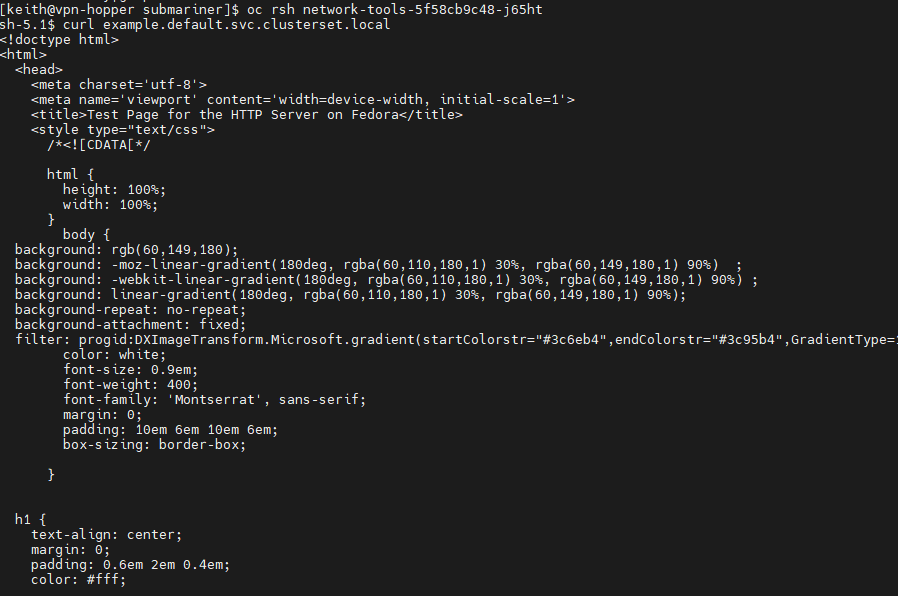
This means it all worked 😄