
ACM, GitOps, and ZTP Walkthrough (Demo Day 1)
It's been a few years since I wrote my articles on managing OCP infrastructures with GitOps but here are the links for those previous articles.


So the reason for re-writing this is to account for some changes/upgrades that have happened with the tooling since this article has been written, to refresh my memory, to organize artifacts better on GitHub, and to write in a more tutorial/walkthrough style which can be used for POCs (proof of concepts) that I work on. So here we go 😎
Some of this will be a refresh but I want it to be complete.
The sections will be as follows:
A. Installing ACM (Advanced Cluster Management)
B. Installing CIM (Central Infrastructure Management)/Assisted-Service
C. Installing GitOps Operator
Assumptions: The cluster I am running in my lab environment is a compact-cluster (3 combined master/worker) on bare-metal based on OpenShift 4.17. Also, the cluster I am working on is connected to the Internet and is not disconnected.
The artifacts for all of these articles will be located at:

A. Installing ACM (Advanced Cluster Management)
1. On the Openshift web console, go to Operators --> OperatorHub and search for "Advanced Cluster Management."
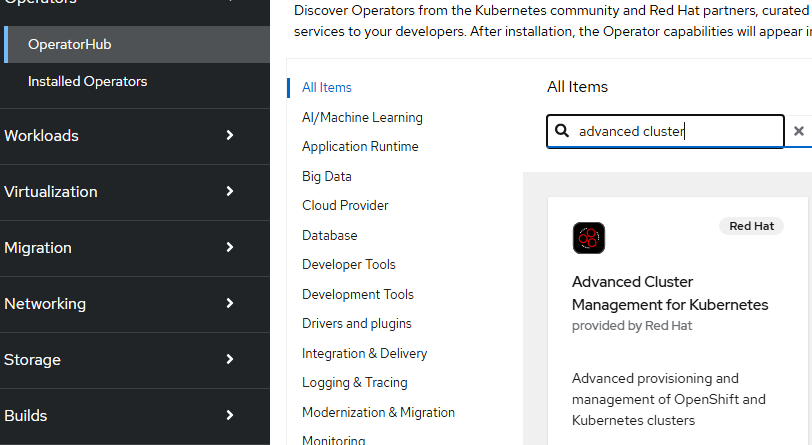
Click on the box.
- Click "Install" on the next screen.

- Accept the defaults here. At the time of this writing, ACM release 2.13 is the current version.
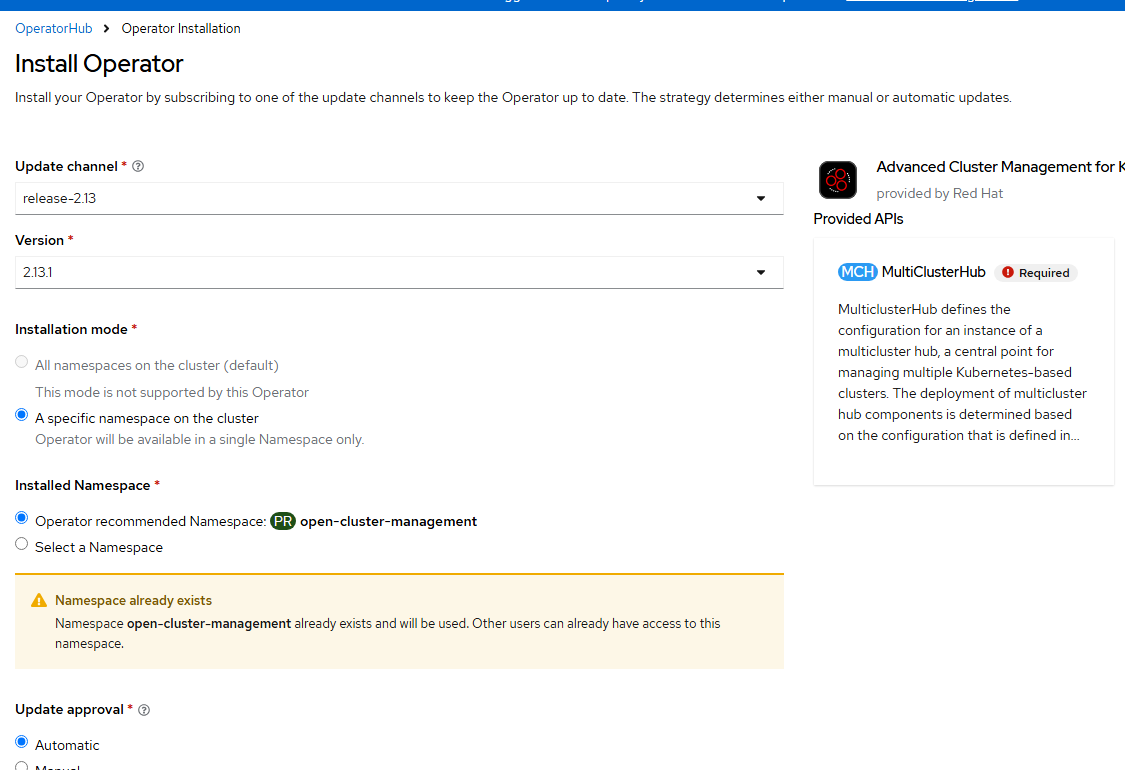
Click "Install"
- Wait for the operator to become ready.
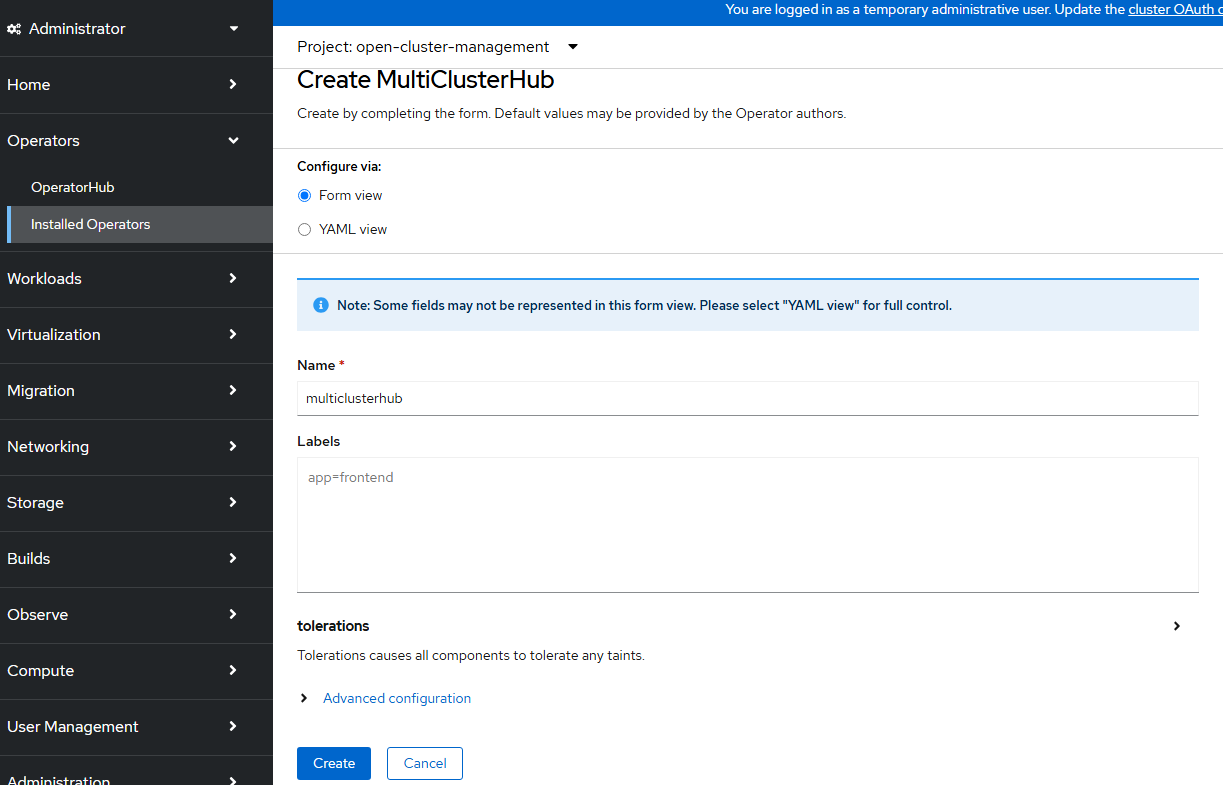
- Once the operator is installed and ready, then install the MultiClusterHub CRD/object. You can accept all default settings for this.

- Accept the defaults for these purposes and click "Create."
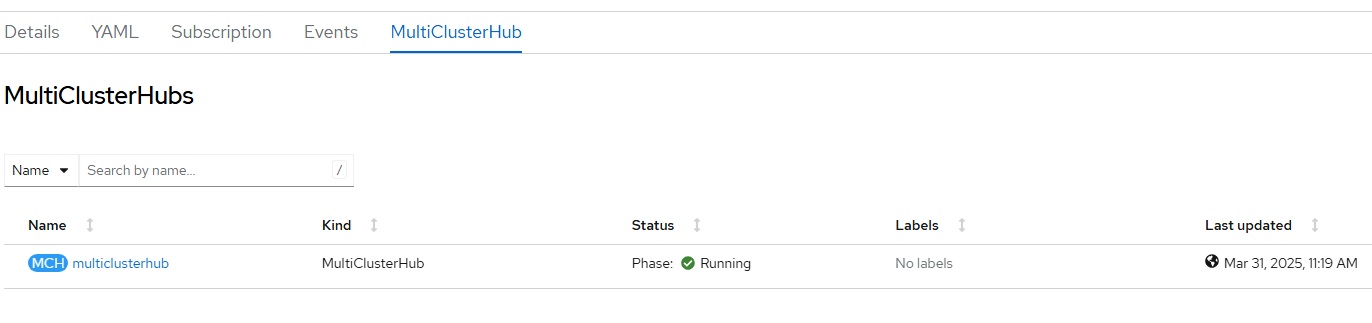
- After 5-10 minutes the MultiClusterHub object should show as status "Running."
oc project open-cluster-management
oc get po
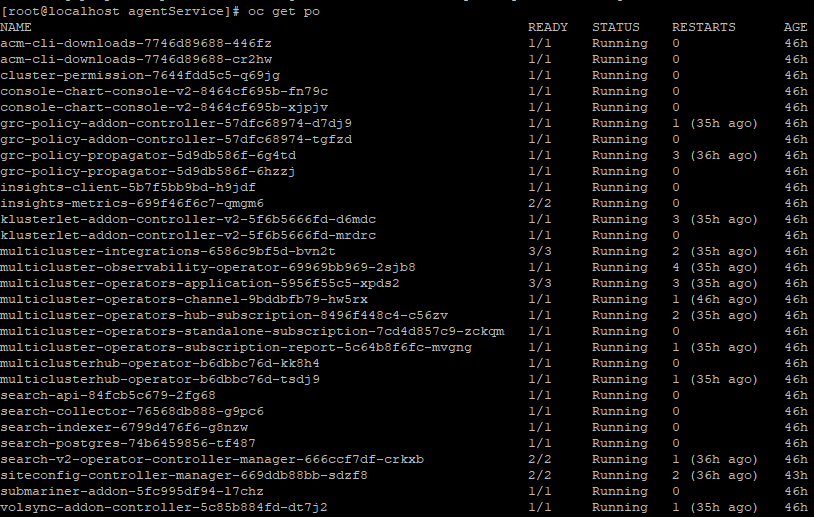
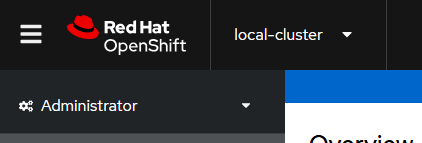
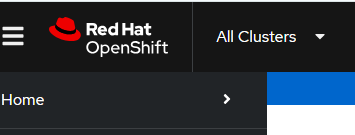
In the top left of the screen you will see that you are currently in "local-cluster" perspective.
You can now change this to "All Clusters" to see the fleet of clusters that are available to view/manage.
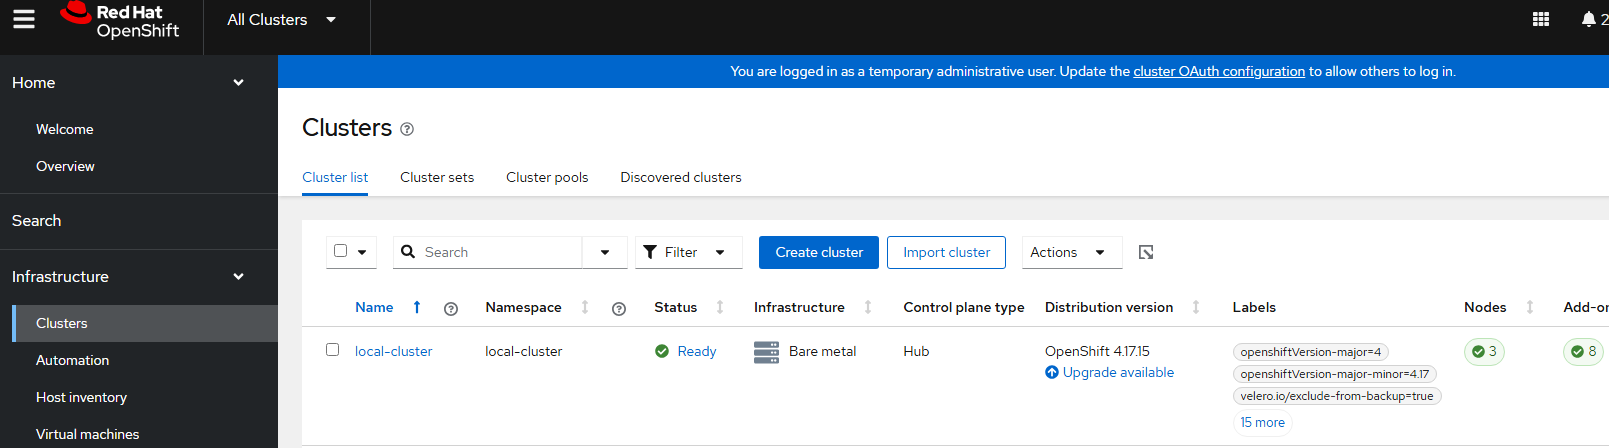
B. Installing CIM (Central Infrastructure Management)/Assisted-Service
When going to the "All Clusters" perspective, go to Infrastructure --> Clusters to see your local cluster that is managed and viewable automatically.
Now, we will initiate the Central Infrastructure Management service which has some of the same functionalities as Red Hat's cloud-based assisted installer for OpenShift.
- Check to see if you already have a baremetalhost resource. You should if using a bare-metal install.
oc get crd baremetalhosts.metal3.ioIf you don't have it, download the file from this location and save as bare-metal-host-crd.yaml.
https://raw.githubusercontent.com/openshift/baremetal-operator/master/config/base/crds/bases/metal3.io_baremetalhosts.yaml
oc apply -f bare-metal-host-crd.yaml- Check for provisioning resource.
oc get provisioningIf it's not there, download and apply this as provisioning.yaml
apiVersion: metal3.io/v1alpha1
kind: Provisioning
metadata:
  name: provisioning-configuration
spec:
  provisioningNetwork: "Disabled"
  watchAllNamespaces: true
oc apply -f provisioning.yaml- Download and apply the agentServiceConfig.yaml as shown here.
apiVersion: agent-install.openshift.io/v1beta1
kind: AgentServiceConfig
metadata:
  name: agent
spec:
  databaseStorage:
    accessModes:
    - ReadWriteOnce
    resources:
      requests:
        storage: 10Gi
  filesystemStorage:
    accessModes:
    - ReadWriteOnce
    resources:
      requests:
        storage: 100Gi
  imageStorage:
    accessModes:
    - ReadWriteOnce
    resources:
      requests:
        storage: 50Gi
  osImages:
  - cpuArchitecture: x86_64
    openshiftVersion: "4.17"
    rootFSUrl: https://mirror.openshift.com/pub/openshift-v4/x86_64/dependencies/rhcos/pre-release/latest-4.17/rhcos-4.17.0-ec.3-x86_64-live-rootfs.x86_64.img
    url: https://mirror.openshift.com/pub/openshift-v4/x86_64/dependencies/rhcos/pre-release/latest-4.17/rhcos-4.17.0-ec.3-x86_64-live.x86_64.iso
    version: 417.94.202410090854-0
  - cpuArchitecture: x86_64
    openshiftVersion: "4.18"
    rootFSUrl: https://mirror.openshift.com/pub/openshift-v4/x86_64/dependencies/rhcos/pre-release/4.18.0-rc.2/rhcos-4.18.0-rc.2-x86_64-live-rootfs.x86_64.img
    url: https://mirror.openshift.com/pub/openshift-v4/x86_64/dependencies/rhcos/pre-release/4.18.0-rc.2/rhcos-4.18.0-rc.2-x86_64-live.x86_64.iso
    version: 418.94.202411221729-0
oc apply -f agentServiceConfig.yamlThe databaseStorage, fileSystemStorage, and imageStorage consume PVC (persistent volume claims) all ReadWriteOnce block.
- Once you apply the agentServiceConfig.yaml, there will be some new workloads in the multicluster-engine namespace/project as shown below. It make take a little bit of time based on the number of OCP images that will be downloaded. For the purposes of this demonstration, only 4.17 and 4.18 (x86_64) images are being downloaded. If the osImages is left empty (in the agentServiceConfig.yaml above), all OCP versions from 4.9 to 4.19 are downloaded in all architectures. This takes up a lot of unnecessary space based on this demonstration and most use-cases.
To view these, run the following command:
oc get po -n multicluster-engine
- Check the ACM GUI to ensure that CIM is installed properly.
Go to Infrastructure --> Host Inventory.
Ensure that "Host inventory configured successfully" appears as shown below.

C. Installing GitOps Operator
The basic functionality for the GitOps operator will be installed for now.
- In the OpenShift web console, go to Operators --> OperatorHub and search for "Openshift Gitops".
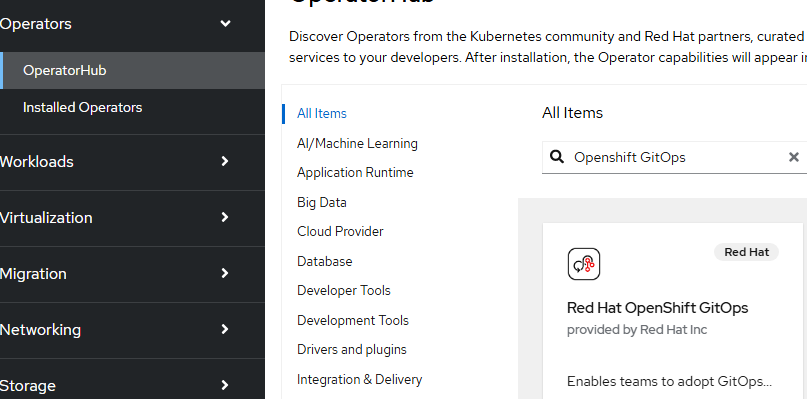
Click on the box to start the installation.
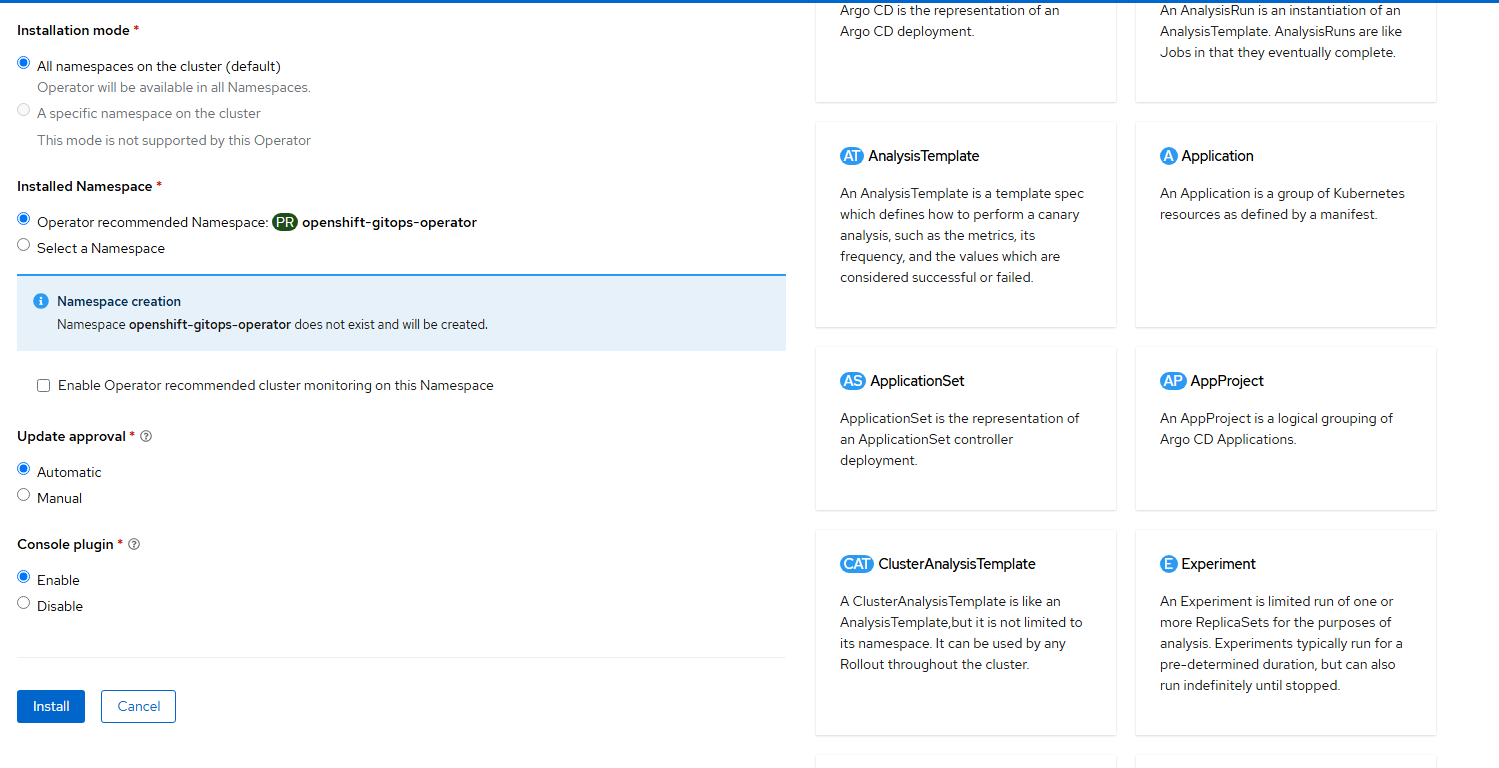
- Accept the default settings and click "Install".
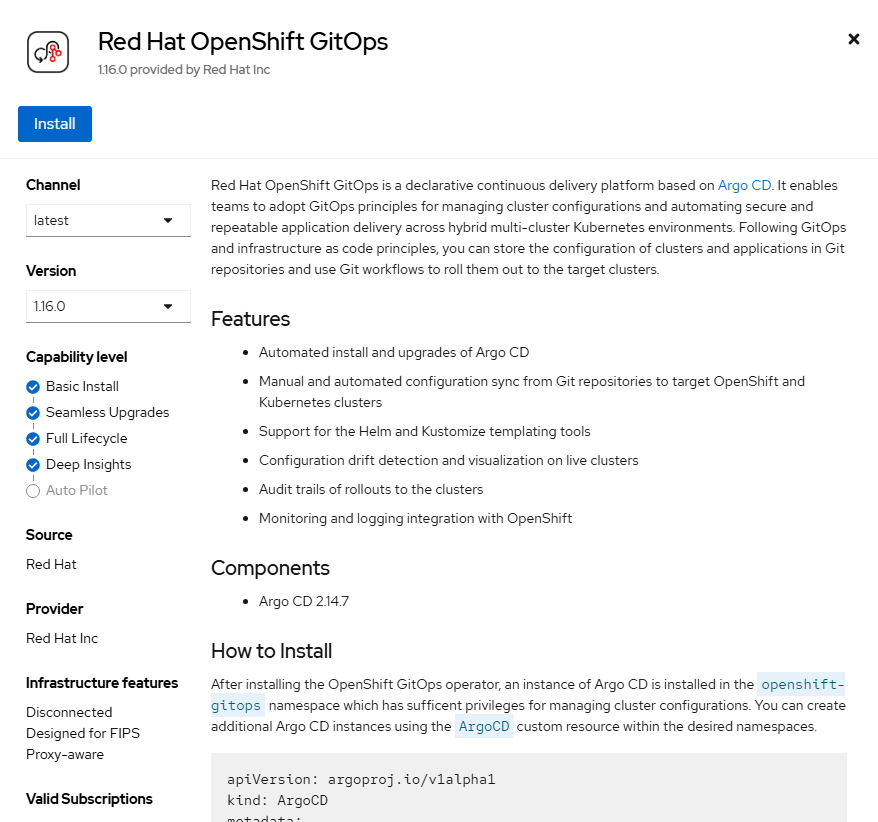
- On the resulting screen, click "Install".
- Wait for the operator to install.
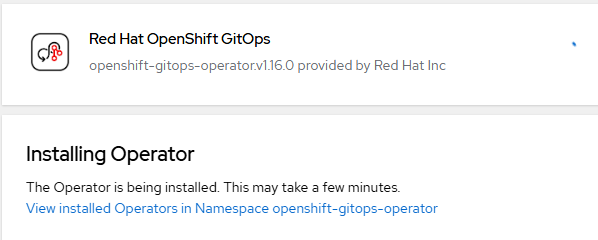
- The ArgoCD instance will install automatically and you will also get notification that a web console update is available.
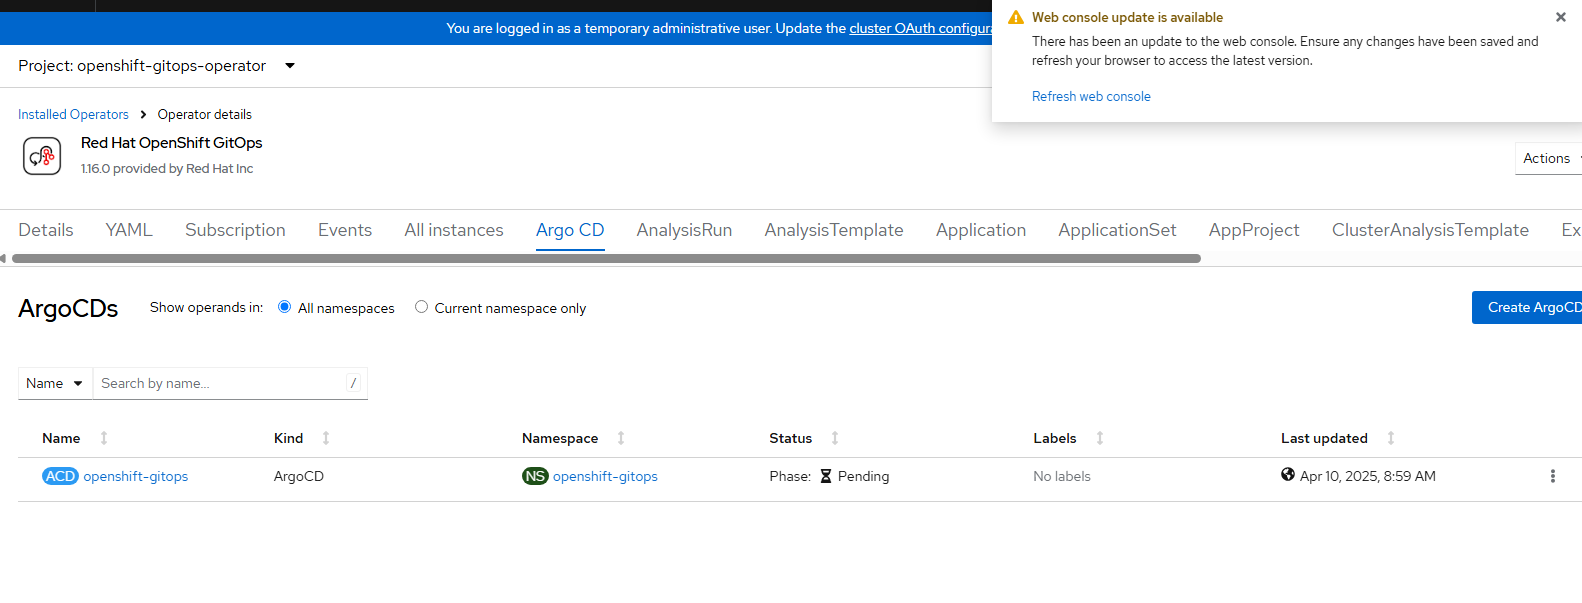
Hit "Refresh web console". This will add some functionality to be used later.
That is it for prepping the environment for more follow-on exercises.