
Openshift Virtualization: Creating Images, Bootable Volumes, and Templates
This article has been updated as of 6/6/25 to make progress a lot smoother.
In the previous articles, an introduction was provided to the following concepts:
Images: Think of an image as as a snapshot of a filesystem, bootable media, and/or QCOW or raw image files.
Bootable Volume: This concept can include any images but it means that the result will automatically boot you into a running operating system once the VM is created.
Templates: A template is a predefined configuration for creating virtual machines. It includes settings like the operating system, hardware specifications (CPU, memory, disk size), network settings, and the image from which the VM will be created.
When the Fedora VM was created, a template was used but the option to use a specific instance type was provided in the GUI. U1 was selected in this case. There was some customization that could be done immediately before creating the VM but most of the settings were already set (IE: templated). Any additional settings or modifications to the template configuration would be over-rides which would be specific to this VM. More specifics on what is templated will be provided later in this article.
Creating Customized Fedora Image
- Ensure you have the virt-builder tooling:
dnf install guestfs-tools- Build the Fedora 42 image with some customizations such as installing cloud-init, installing/enabling httpd, and making a default webpage (to confirm customizations are done).
virt-builder fedora-42 --format qcow2 --size 6G --install cloud-init,httpd --run-command 'systemctl enable httpd' --run-command 'echo MyOpenshiftBlog > /var/www/html/index.html' -o fedora42-cloudinit.qcow2

In this output, you will see a default root password too. This can be your break-glass if something doesn't work right.
Making this into a Template
Here are the steps to make this into a template that can be used later.
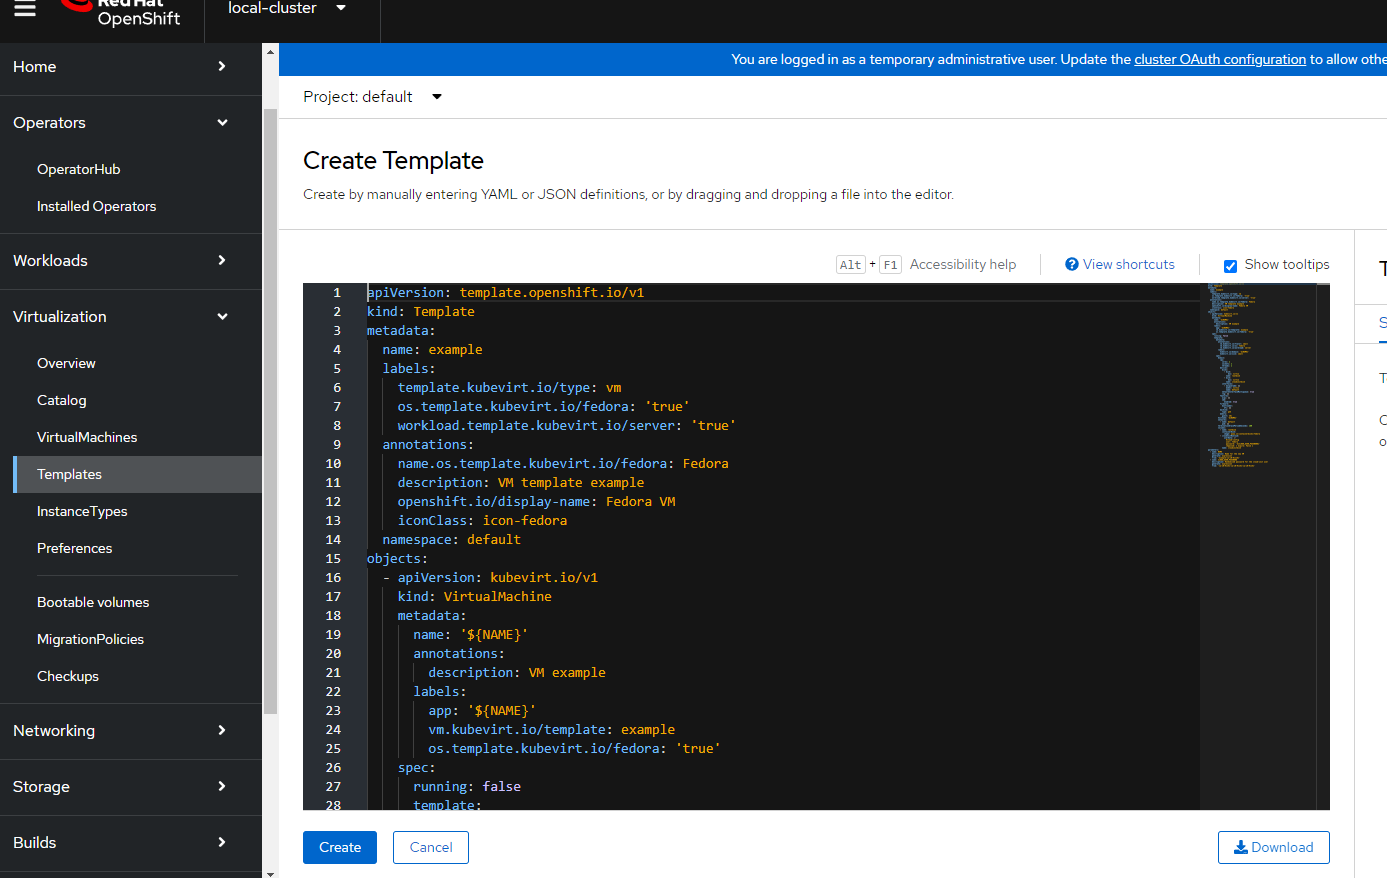
- In the Openshift Web Console, go to Virtualization --> Templates.
- Select "Create Template"

- After hitting the "Create Template" option, you be taken to a YAML page. Don't get too intimidated. I will walk you through it. Let's exit this for now and go over some other concepts.
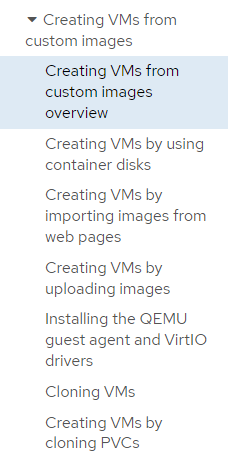
- Some documentation that will be used for this next exercise comes from:

Any of these options below are available at this point.
Let's create a container-image based on the image present at the webserver (which we did earlier).
I am using this document for these purposes:
https://docs.openshift.com/container-platform/4.16/virt/virtual_machines/creating_vms_custom/virt-creating-vms-from-container-disks.html#virt-preparing-container-disk-for-vms_virt-creating-vms-from-container-disks
- The command/syntax below will need to be adjusted. I uses the full URL to the qcow2 file in this docker file.
** You will need podman installed and a registry to push to. I used the internal OCP one **
$ cat > Dockerfile << EOF
FROM registry.access.redhat.com/ubi8/ubi:latest AS builder
ADD --chown=107:107 <vm_image>.qcow2 /disk/
RUN chmod 0440 /disk/*

FROM scratch
COPY --from=builder /disk/* /disk/
EOF
podman build -t <registry>/<container_disk_name>:latest .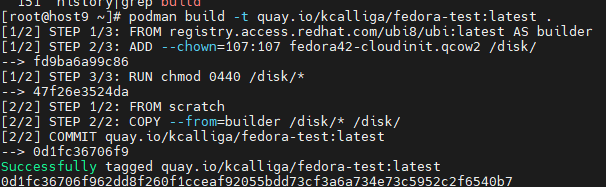
- Login to the registry being used and push the image.
podman push <registry/image-name>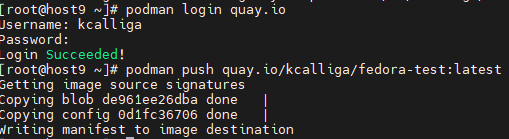
The image that was created as a result of this article is called quay.io/kcalliga/fedora-test:latest
- Let's go back to the template that we started on earlier. Go to Virtualization --> Templates.
The template that I will use for this purpose is located at:
https://github.com/kcalliga/openshift-cnv/blob/main/template-example.yaml
Change the volumes, rootdisk spec to be your customized image or use the one I built for this blog (just leave as it is).
Save it.
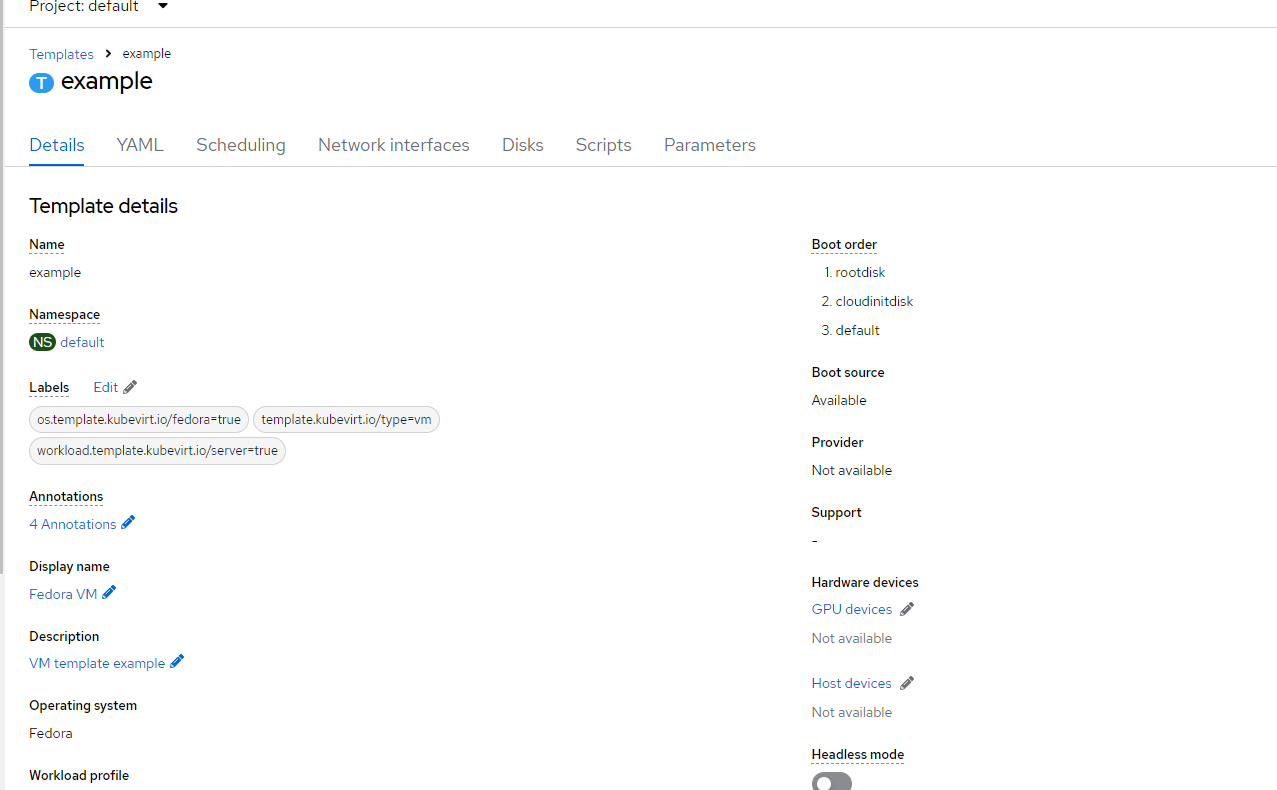
This template is now visible in the Openshift Console at Virtualization – > Templates
Let's instantiate a VM based off of this template.
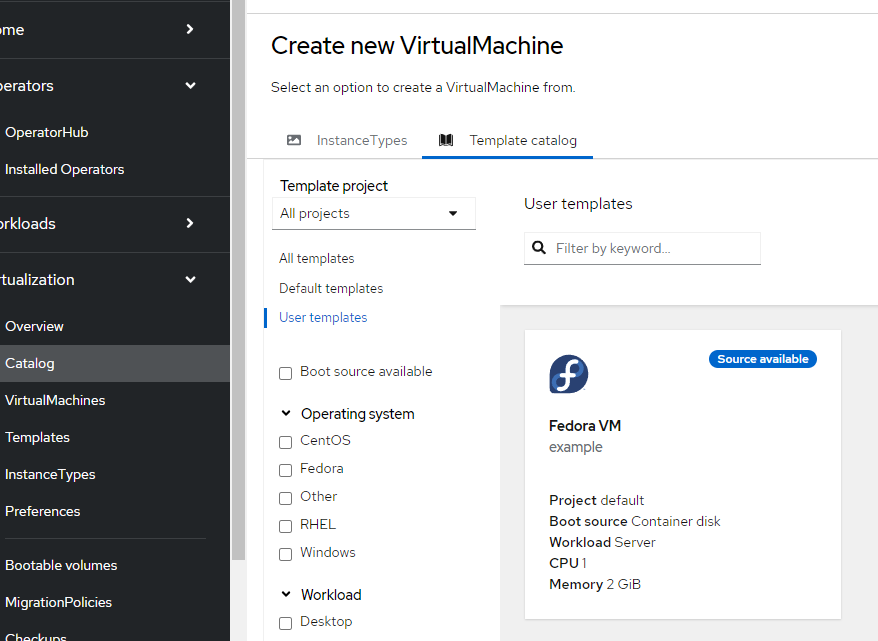
Instantiating VM from this Template
This template will show up under Virtualization --> Catalog --> Template Catalog Tab --> User Templates
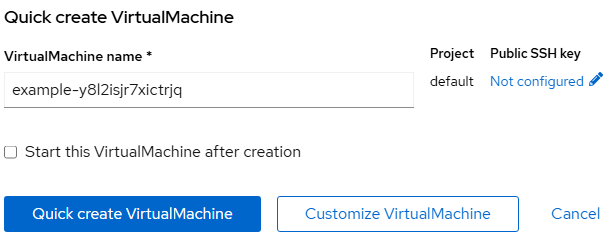
- When creating this virtual machine, the only change that would need to be made is to boot mode to BIOS. Otherwise, there may be issues booting.
To set this, set the boot mode to BIOS on the Customize VirtualMachine screen.
Go Overview and look for Boot mode. Set this to BIOS.
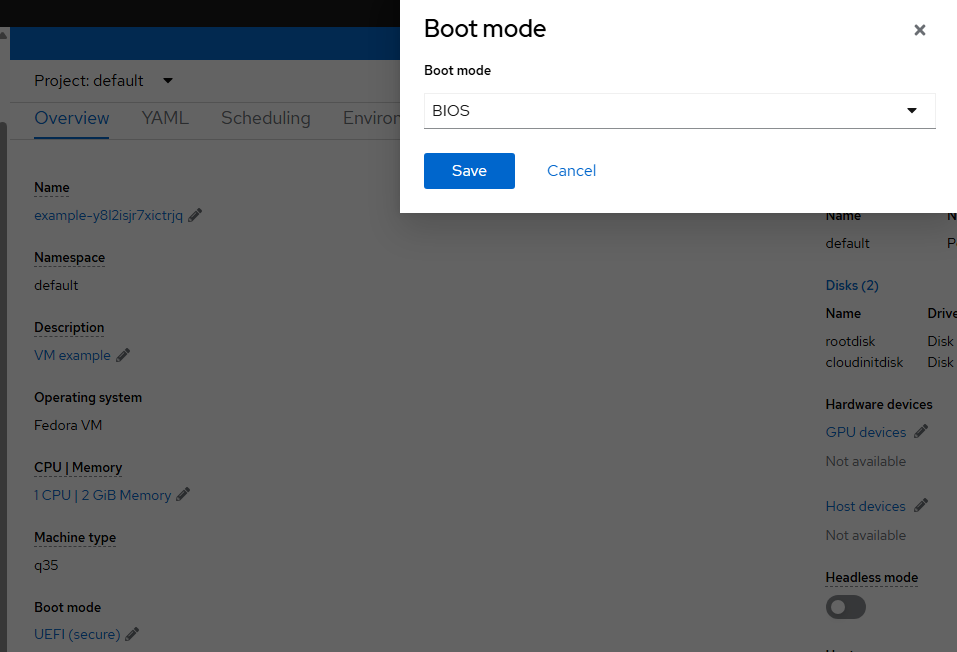
After creating VM, you will need to start it.
- Go to the console of the virtual machine and you should see a login prompt.
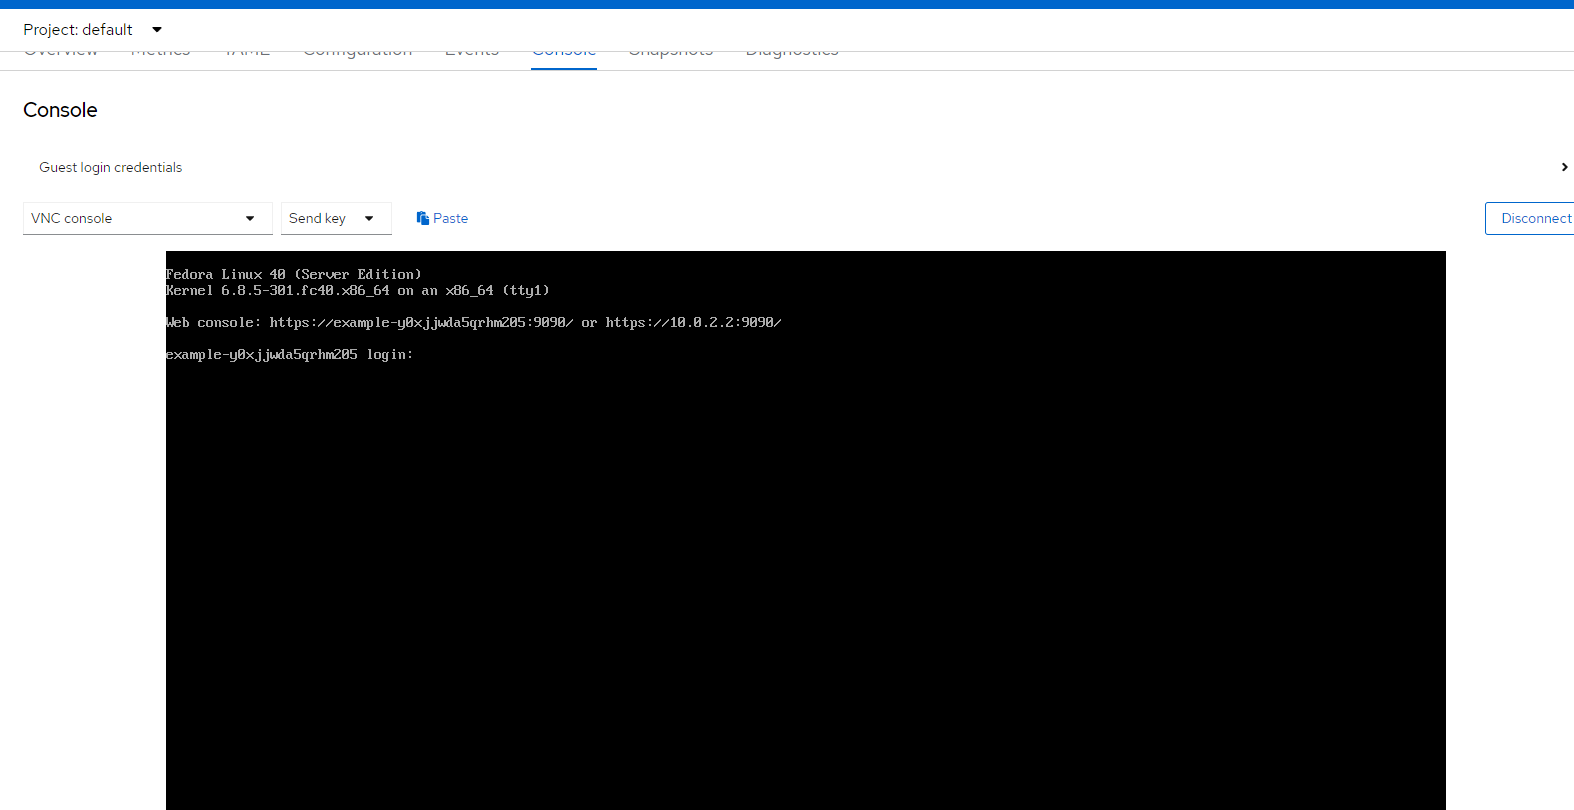
- Login with the cloud-init credentials shown at the top of the screen.
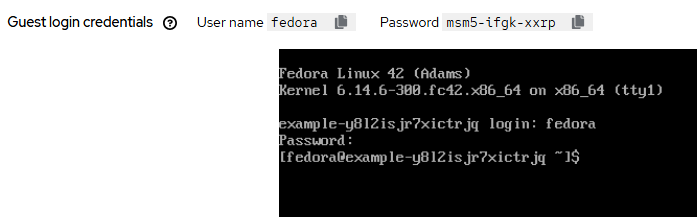
- Verify that this user has sudo access.
sudo -i

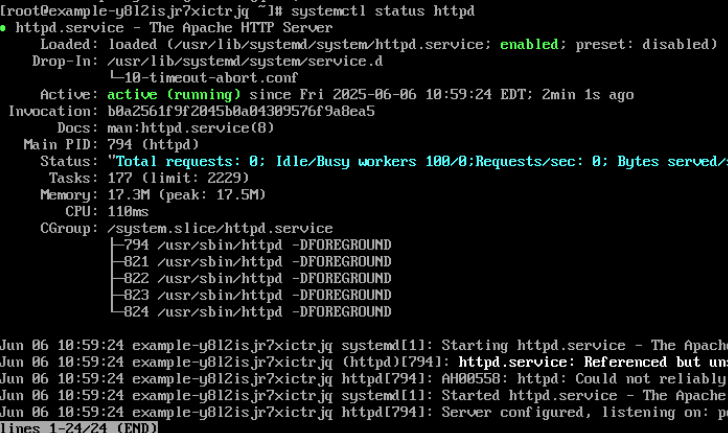
- Let's see what the status of httpd daemon is.
systemctl status httpd
- Lastly, let's see if the custom webpage was created.
cat /var/www/html/index.html
So in this article, we used the virt-builder tooling to automatically create a Fedora based image, customized it, and then spun this up as a new VM in Openshift Virtualization 😄